The Mousetrap
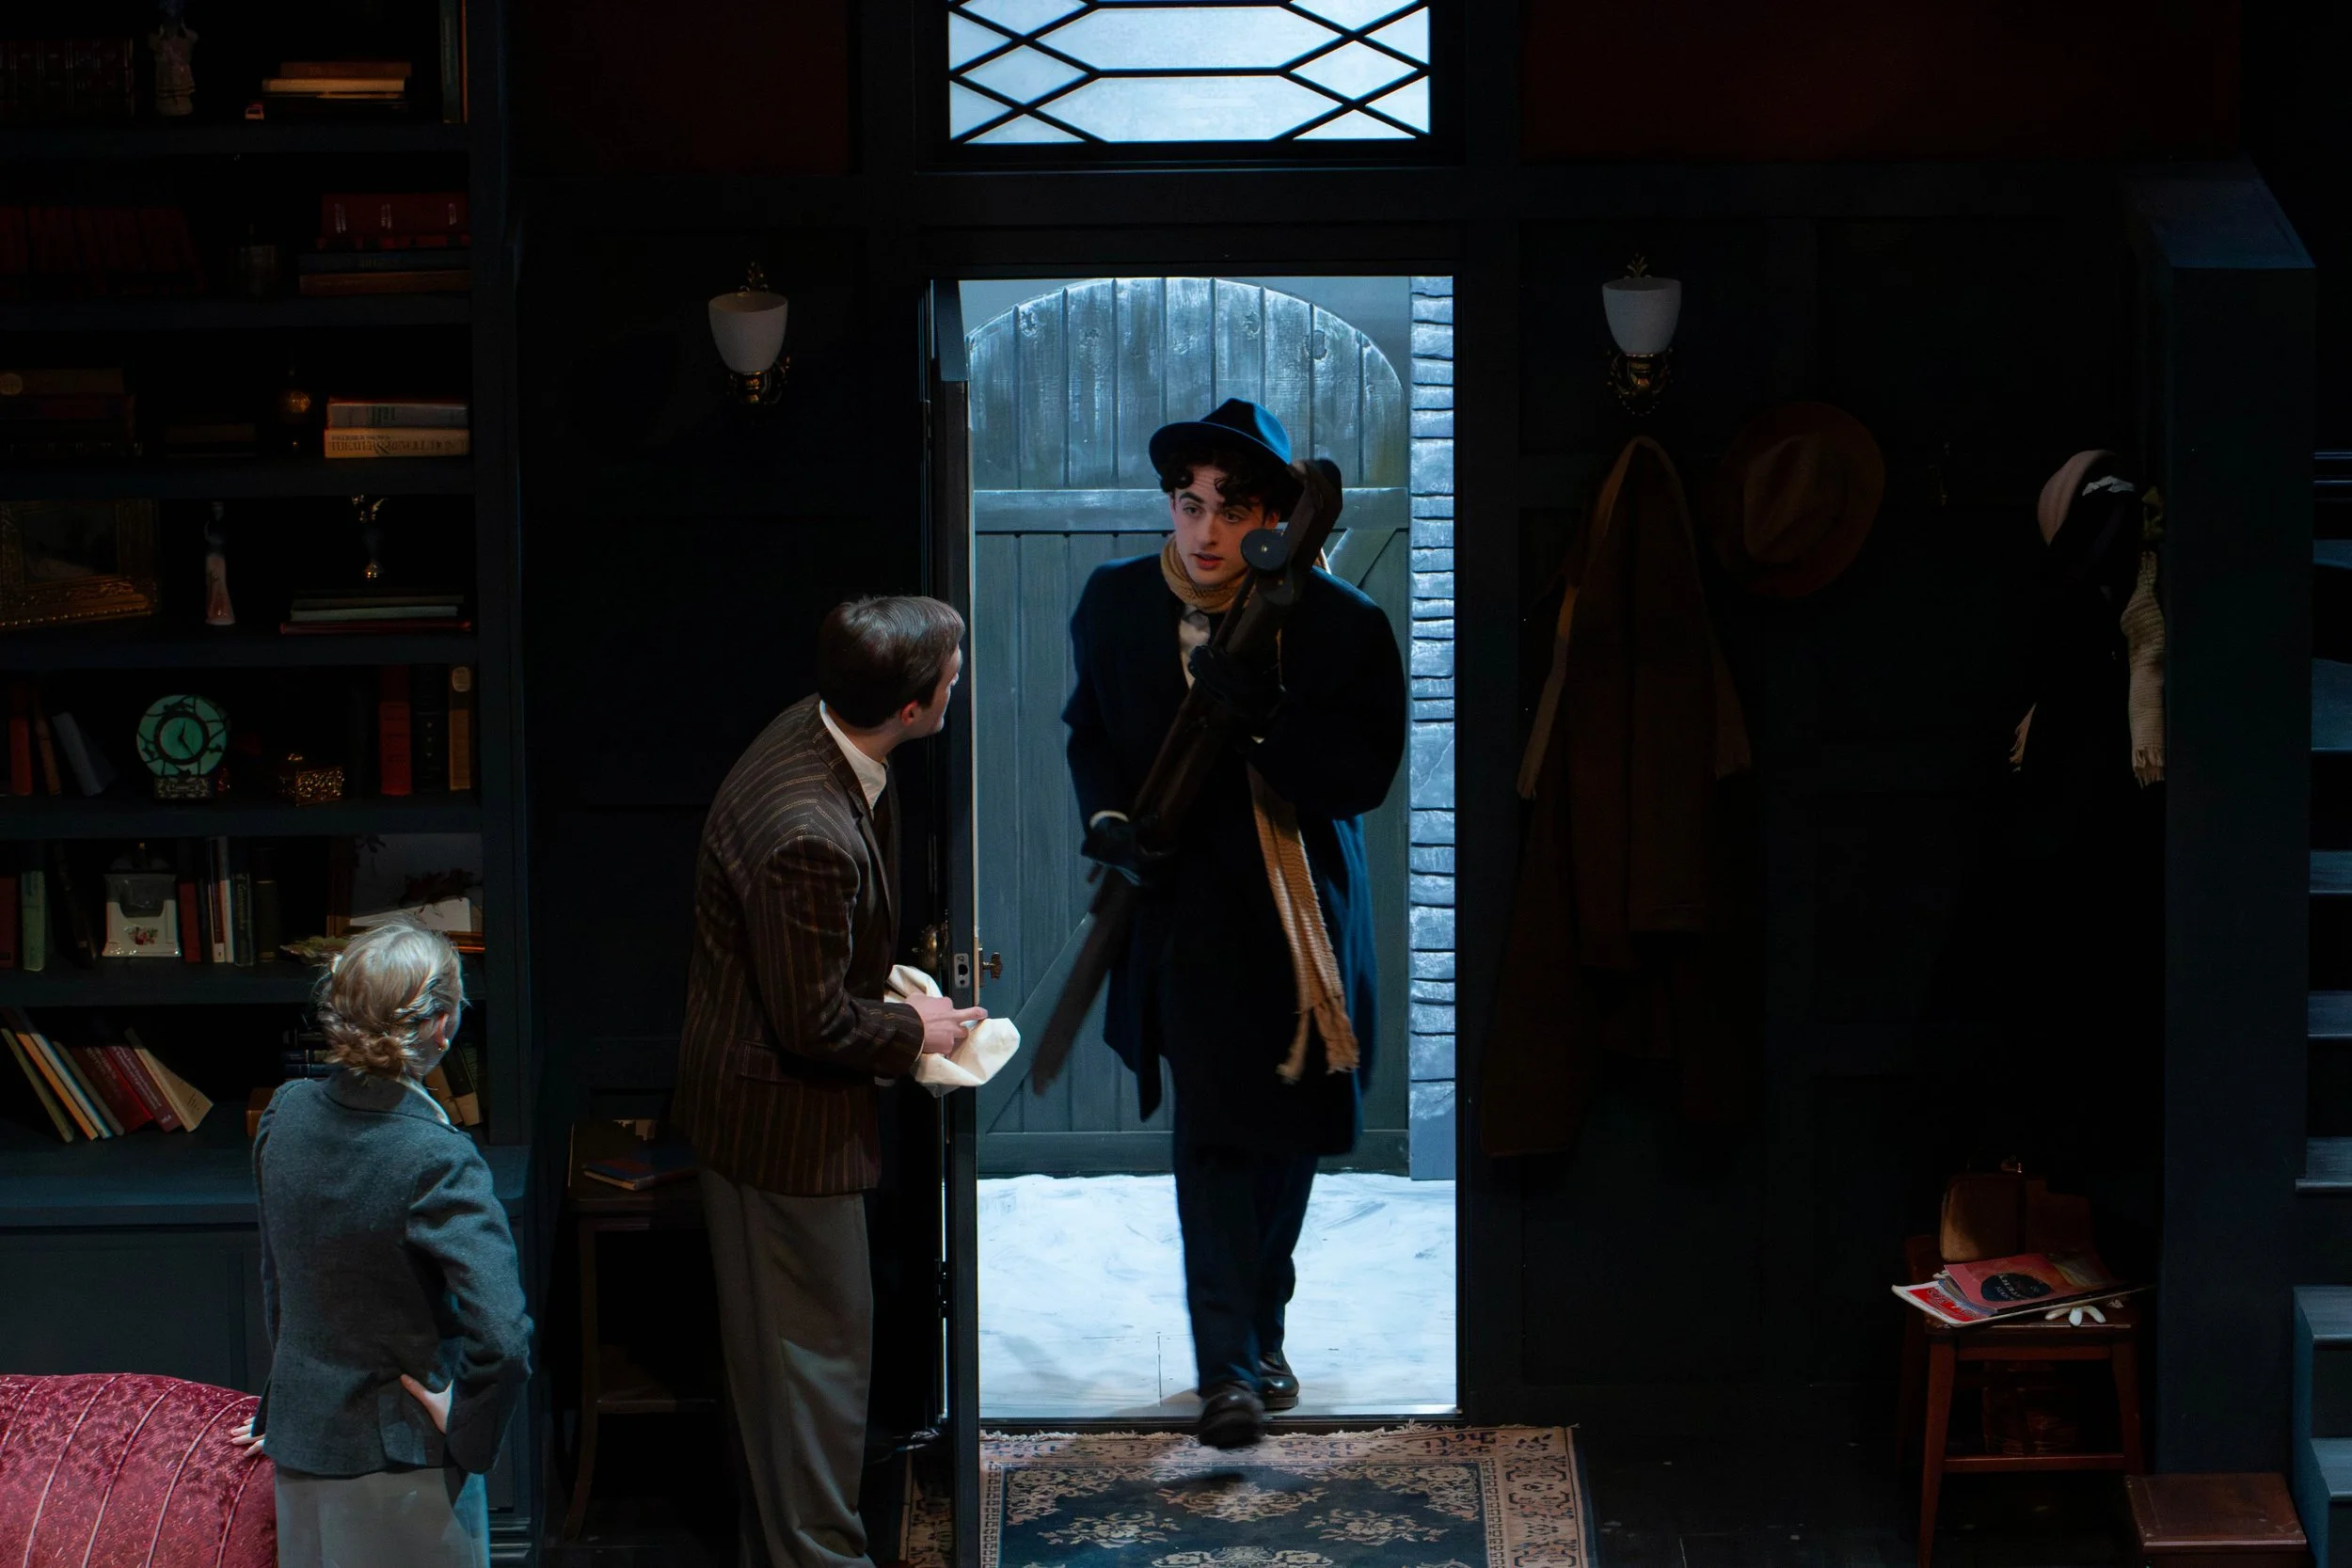
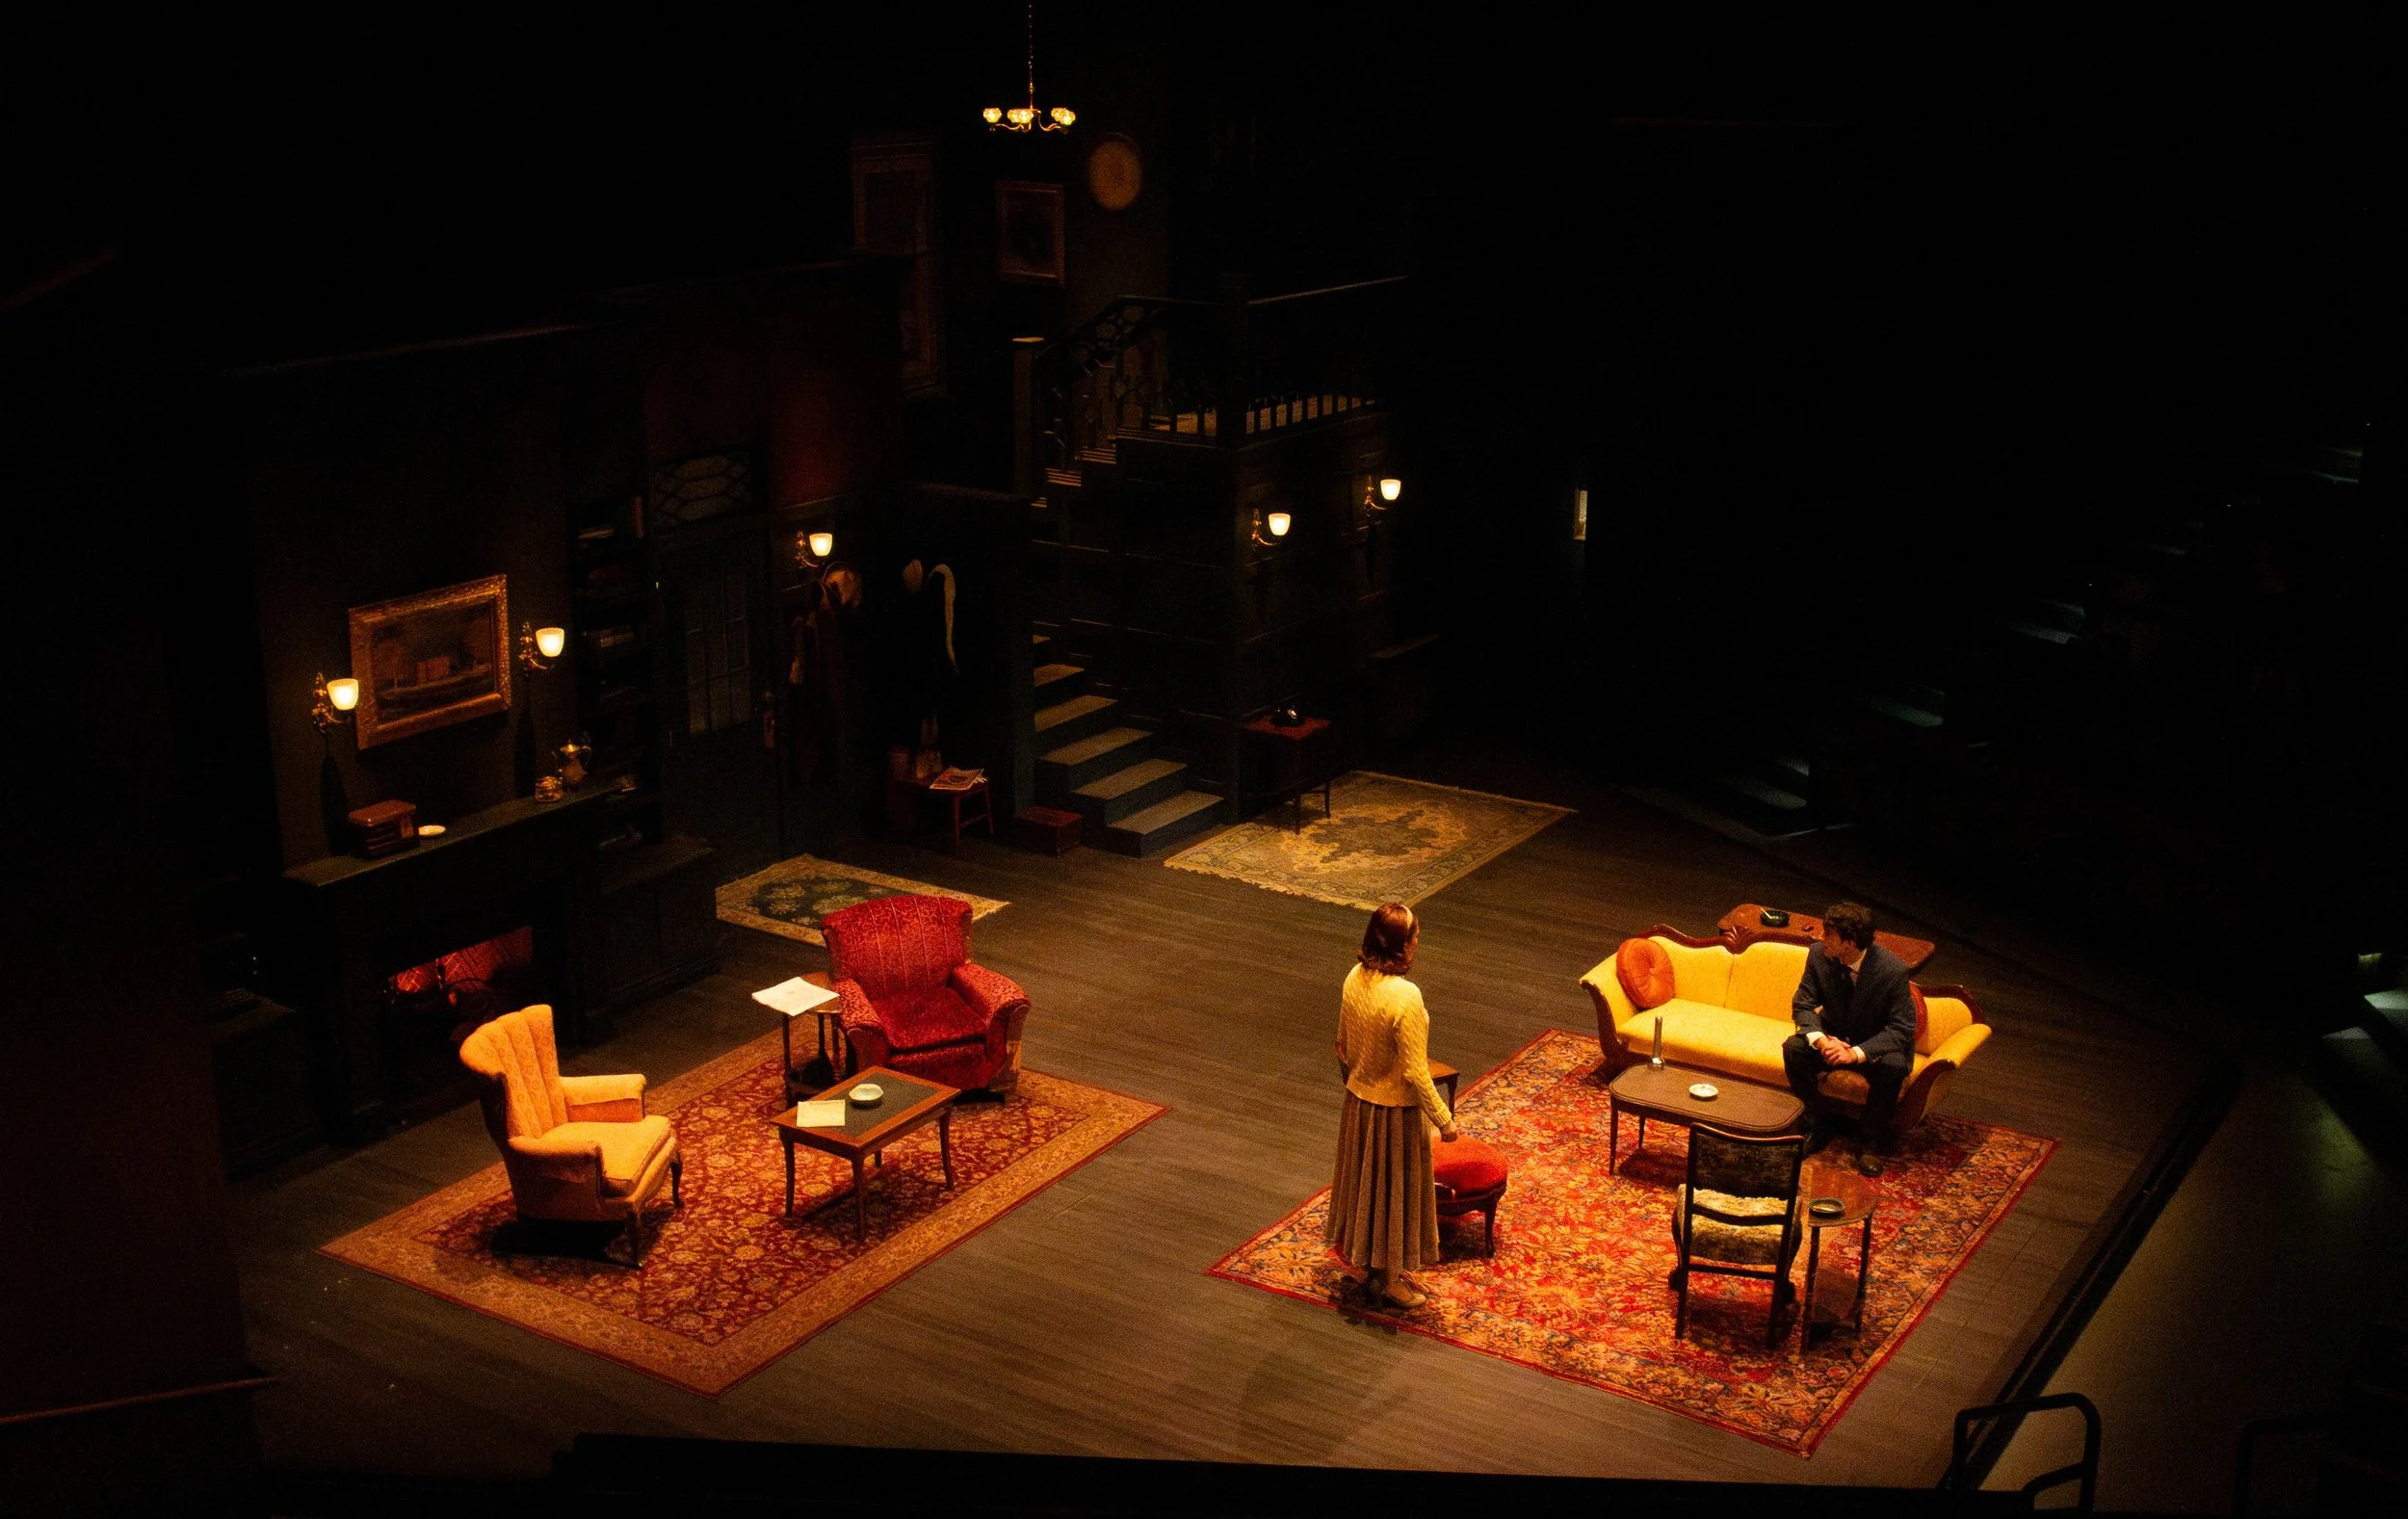
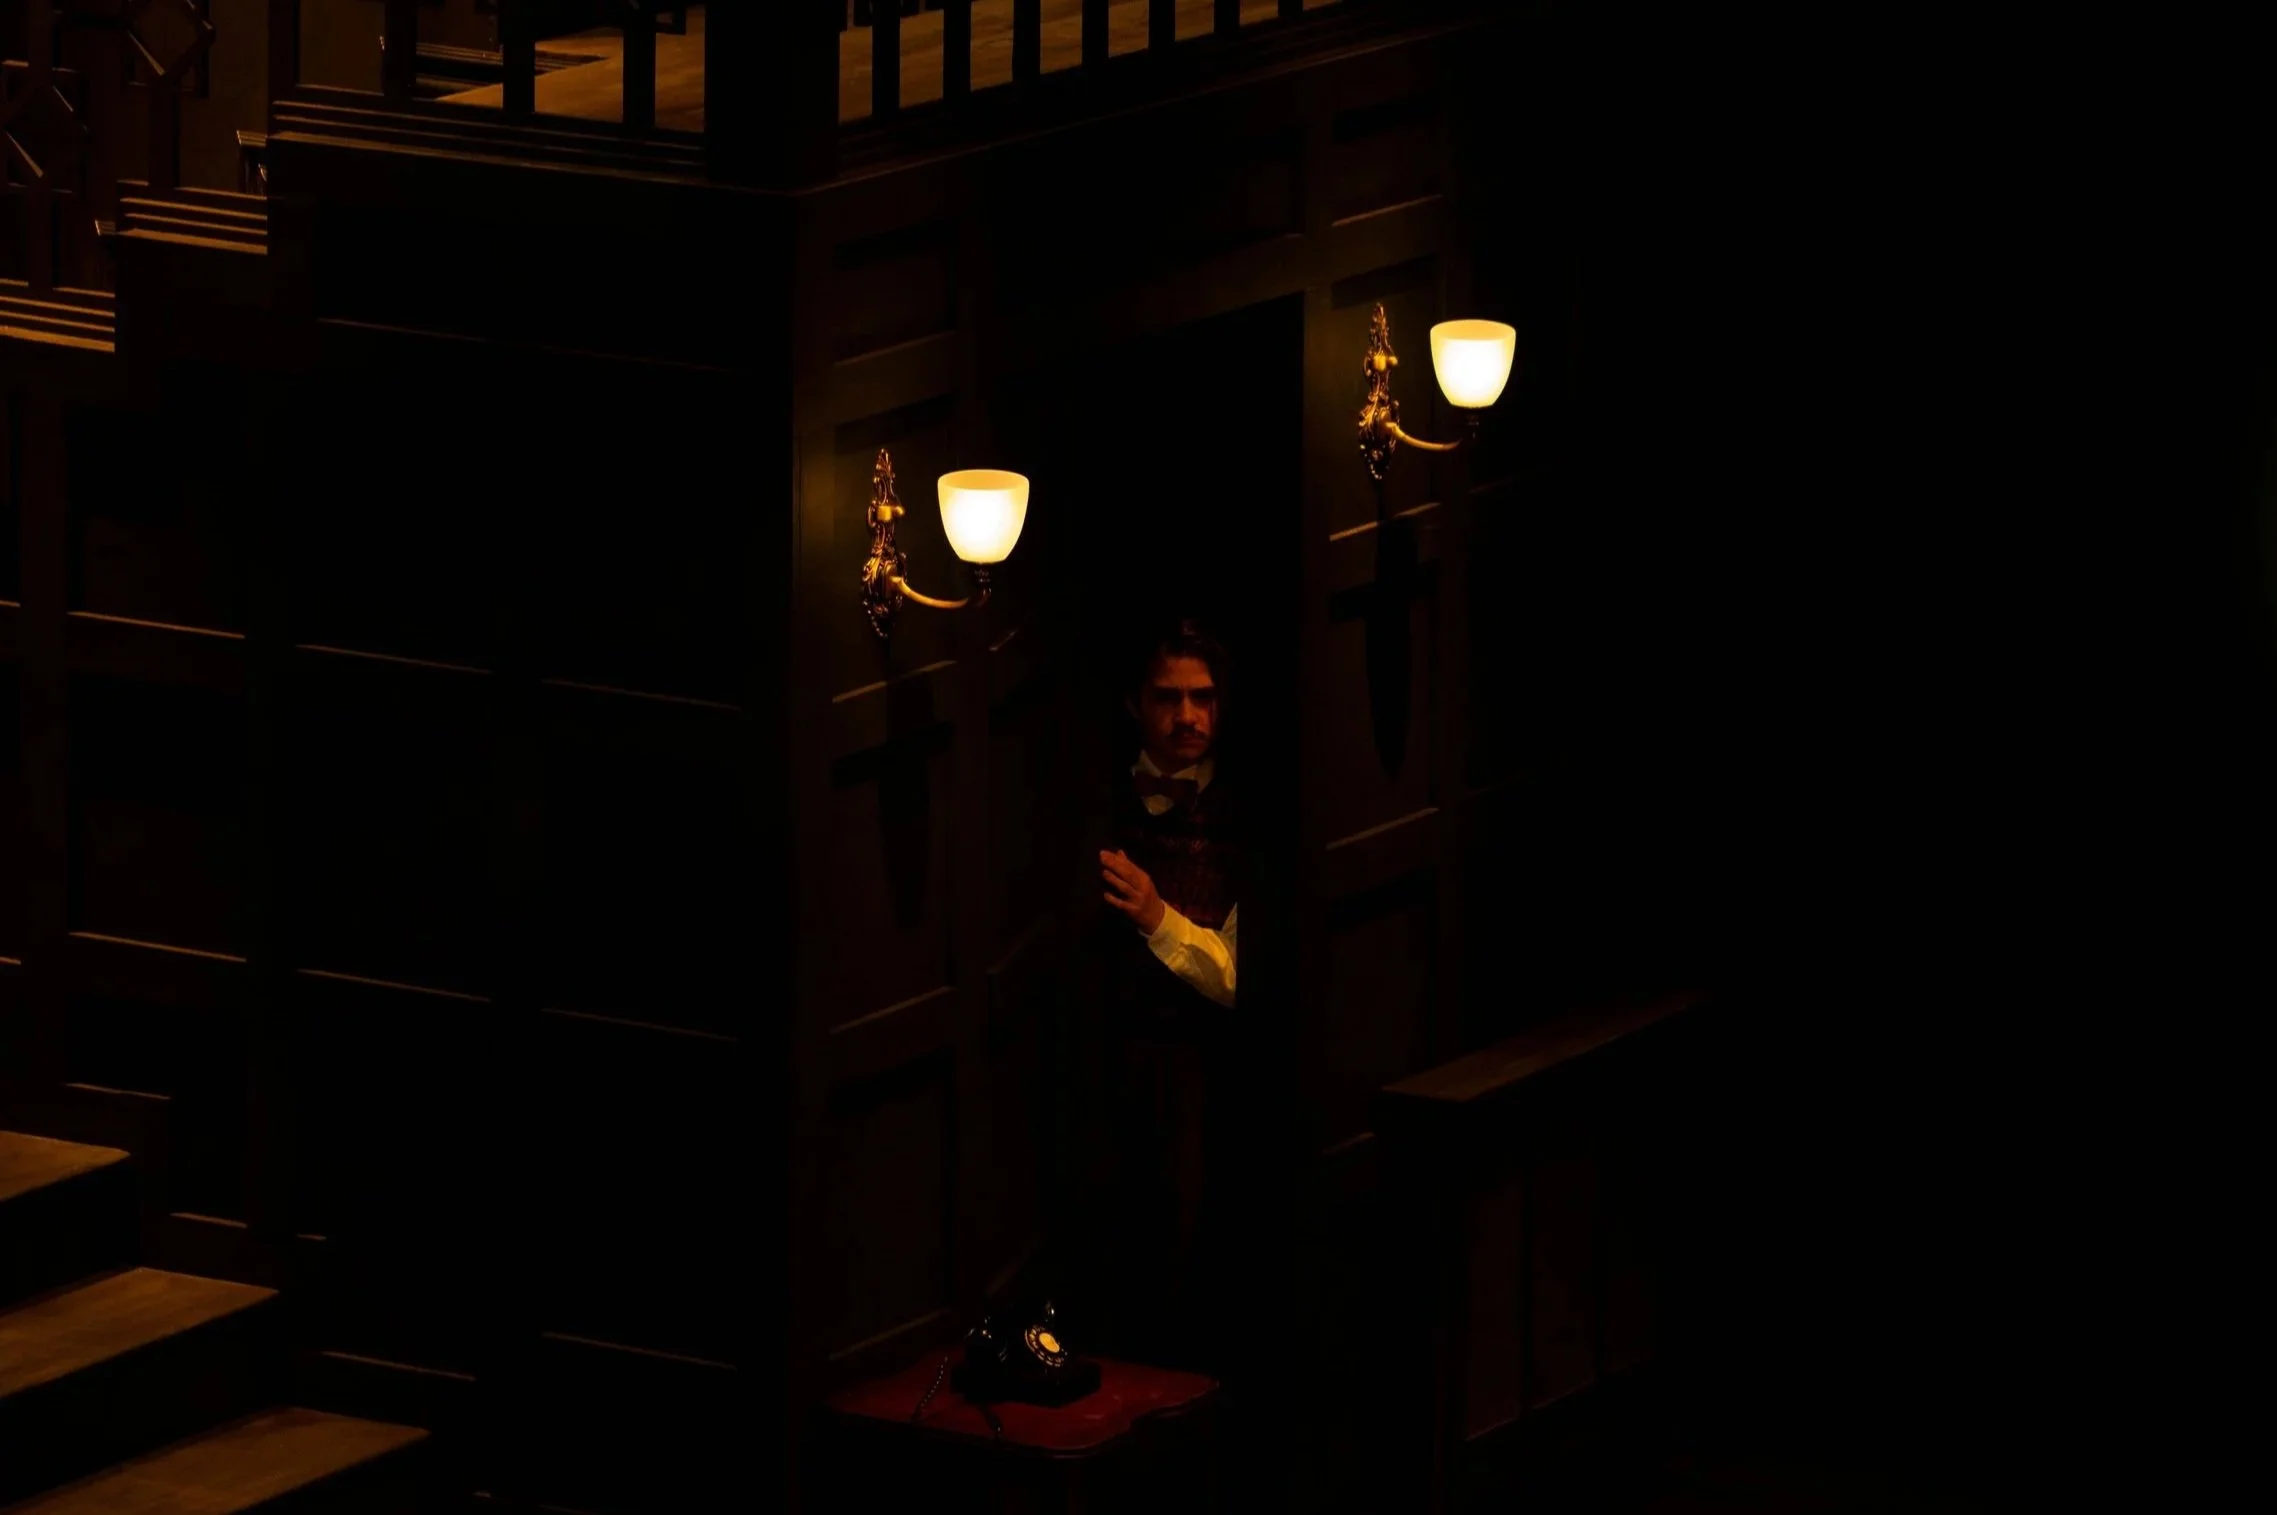
Directed by Amanda Nelson
Scenic Design by David Utley
Costume Design by Jeremy Pritchard
Lighting Design by John Ambrosone
Props Design by David Utley
Sound Design by Cole Clark
Stage Managed by Maggie Scarbrough
Technical Direction by Ethan Rosing
(Above) Setting the scene for intermission, going into final dress. (Left) Under work lights.
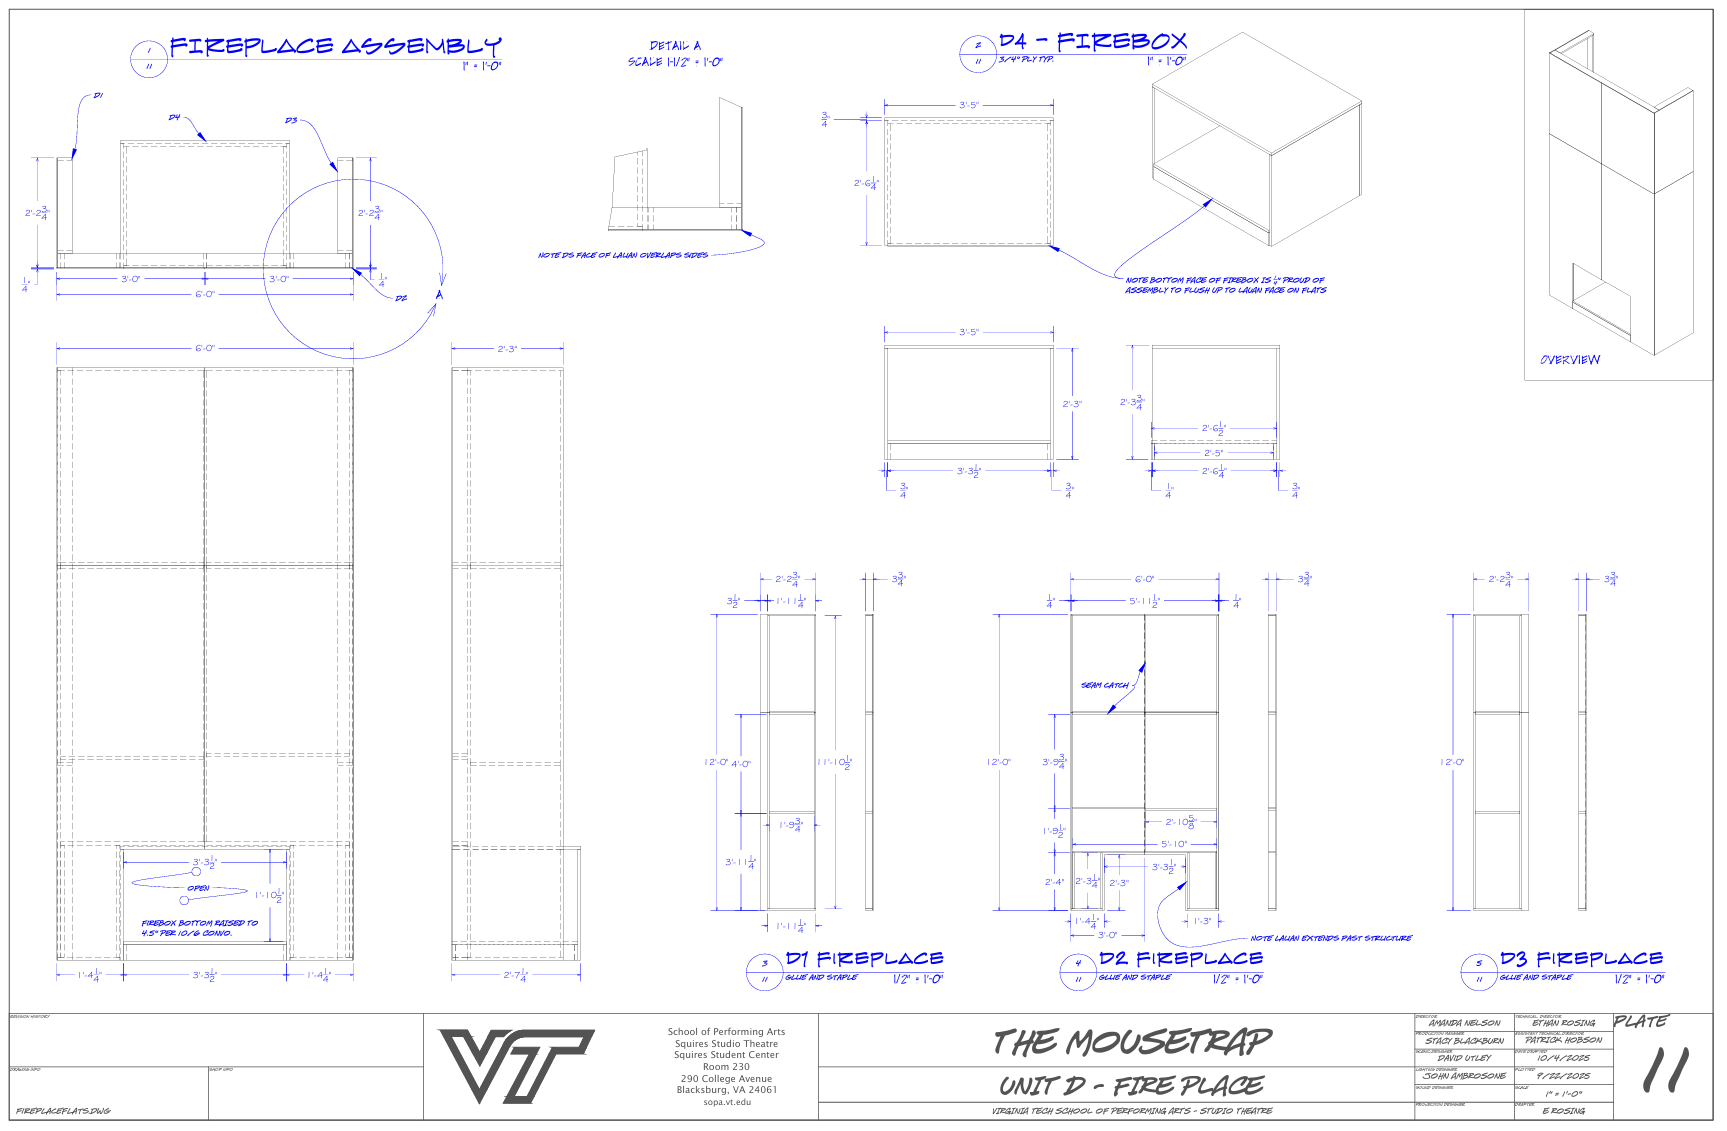
Drafting Samples
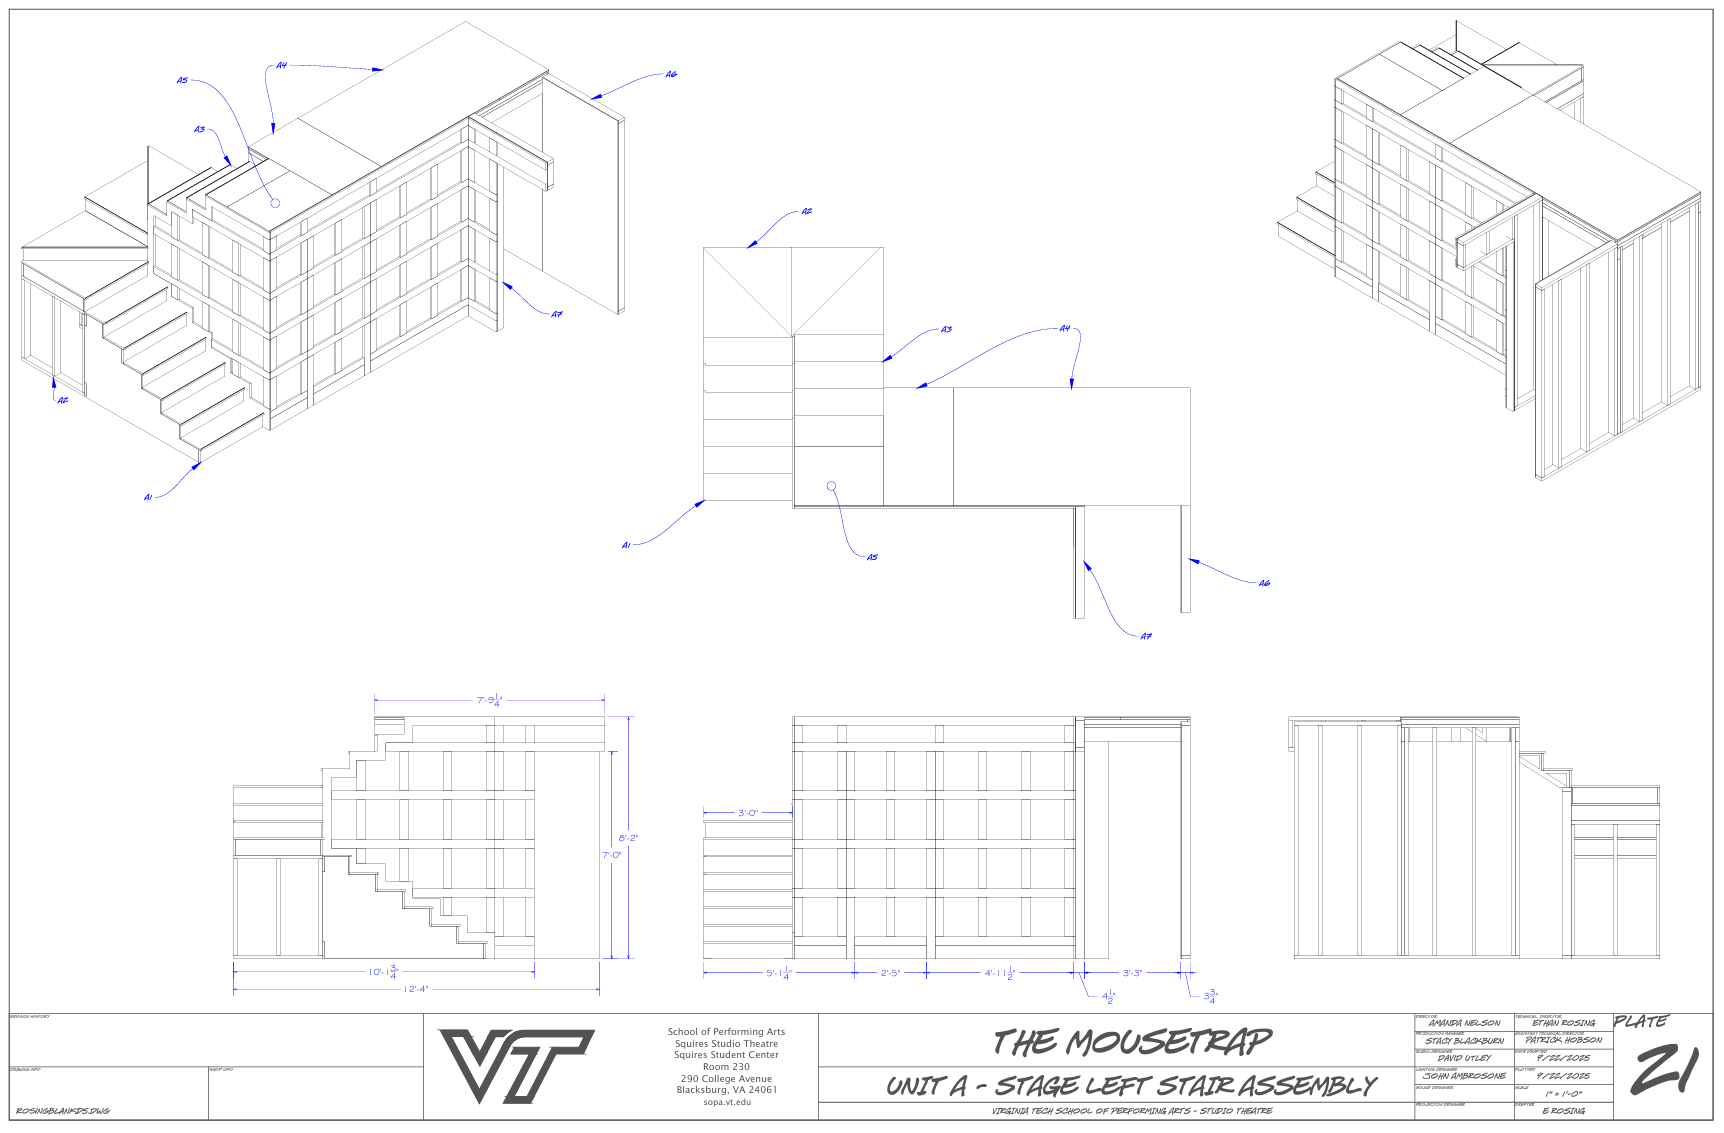
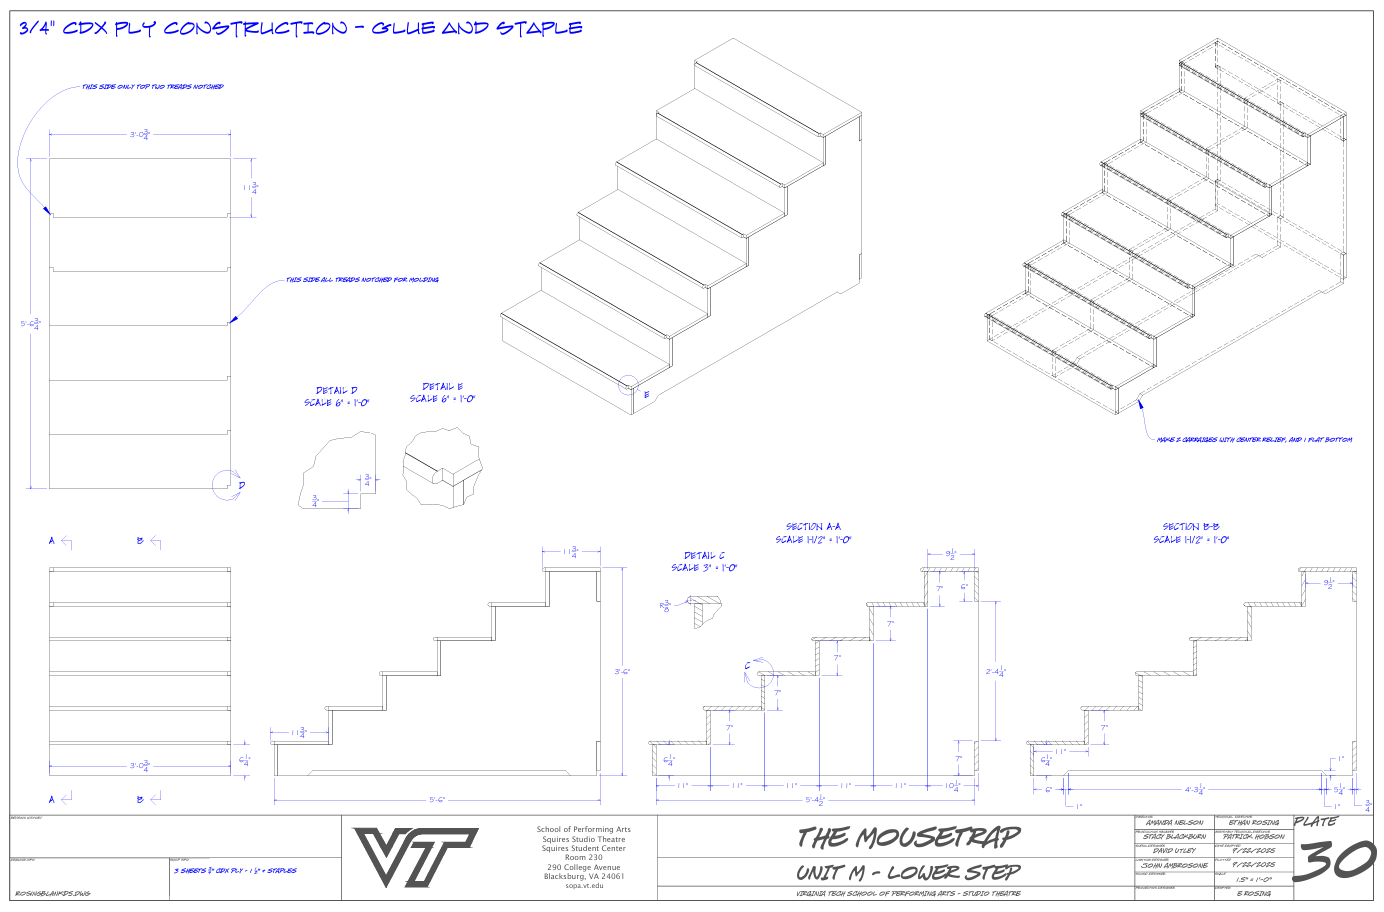
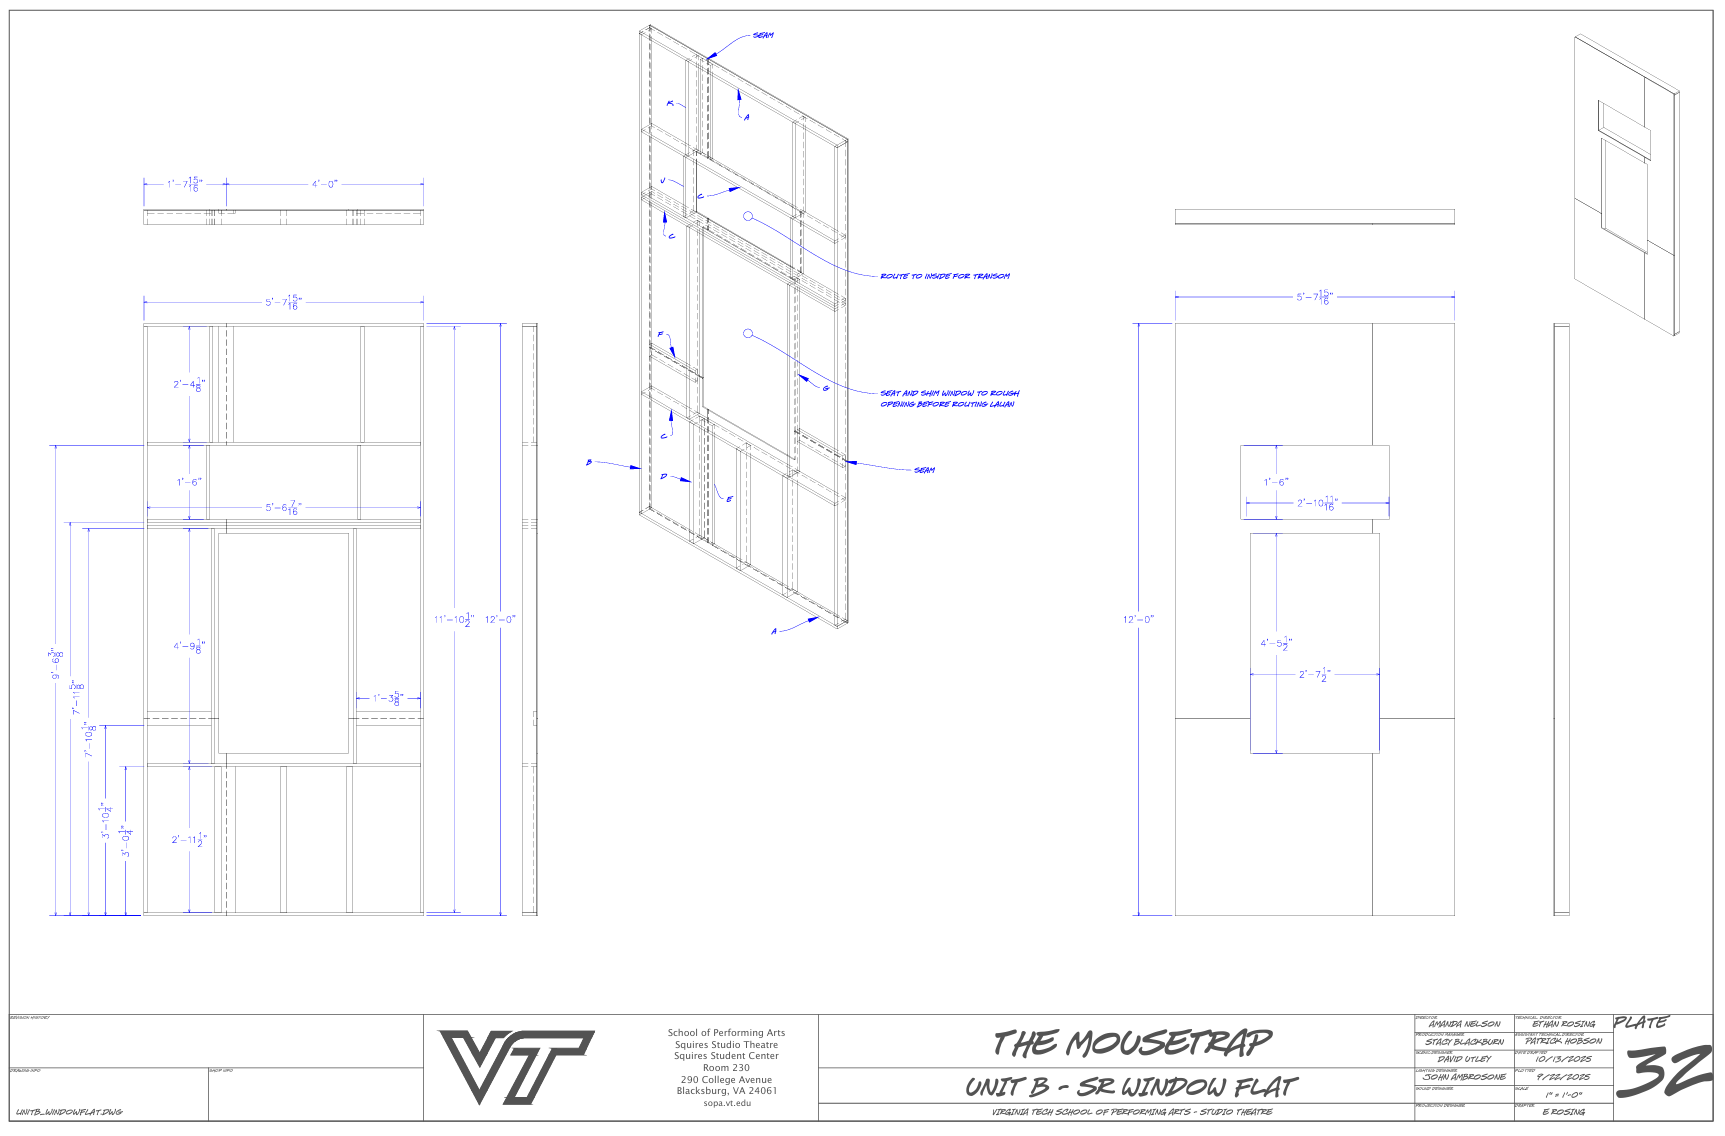
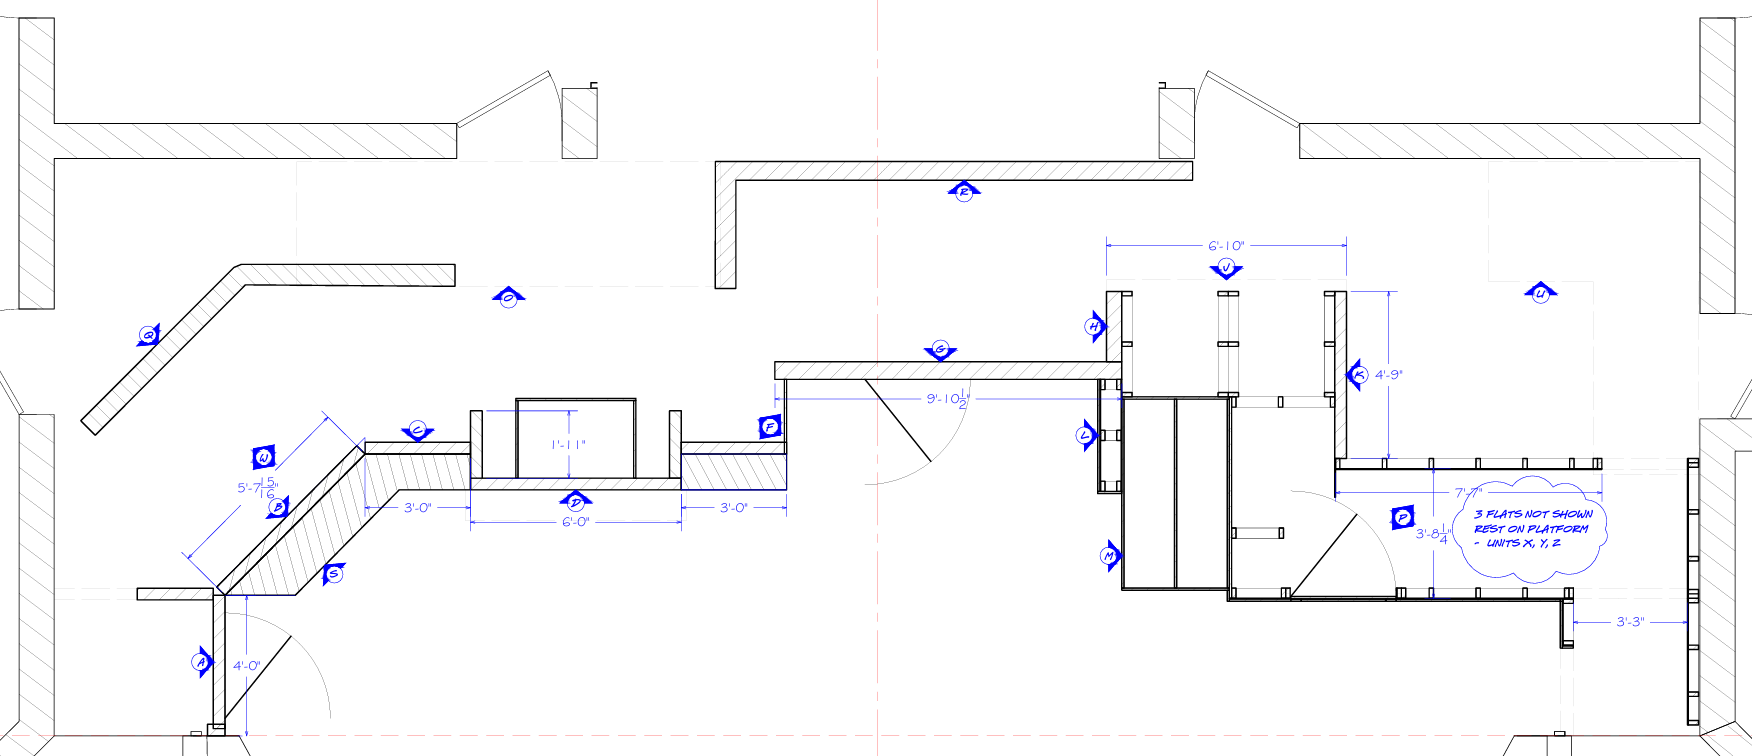
The set was designed to feel like a mansion, and it did. Encompassing the majority of the space upstage of the plaster line the set had many nooks and crannies to hide in and a number of intimate playing areas. The openness of the downstage area allowed for increased physicality and helped sell the expanse of the mansion. Walls for the first floor were 12 feet tall, the stairwell at 16 feet, and the second floor at just over 19 feet tall.
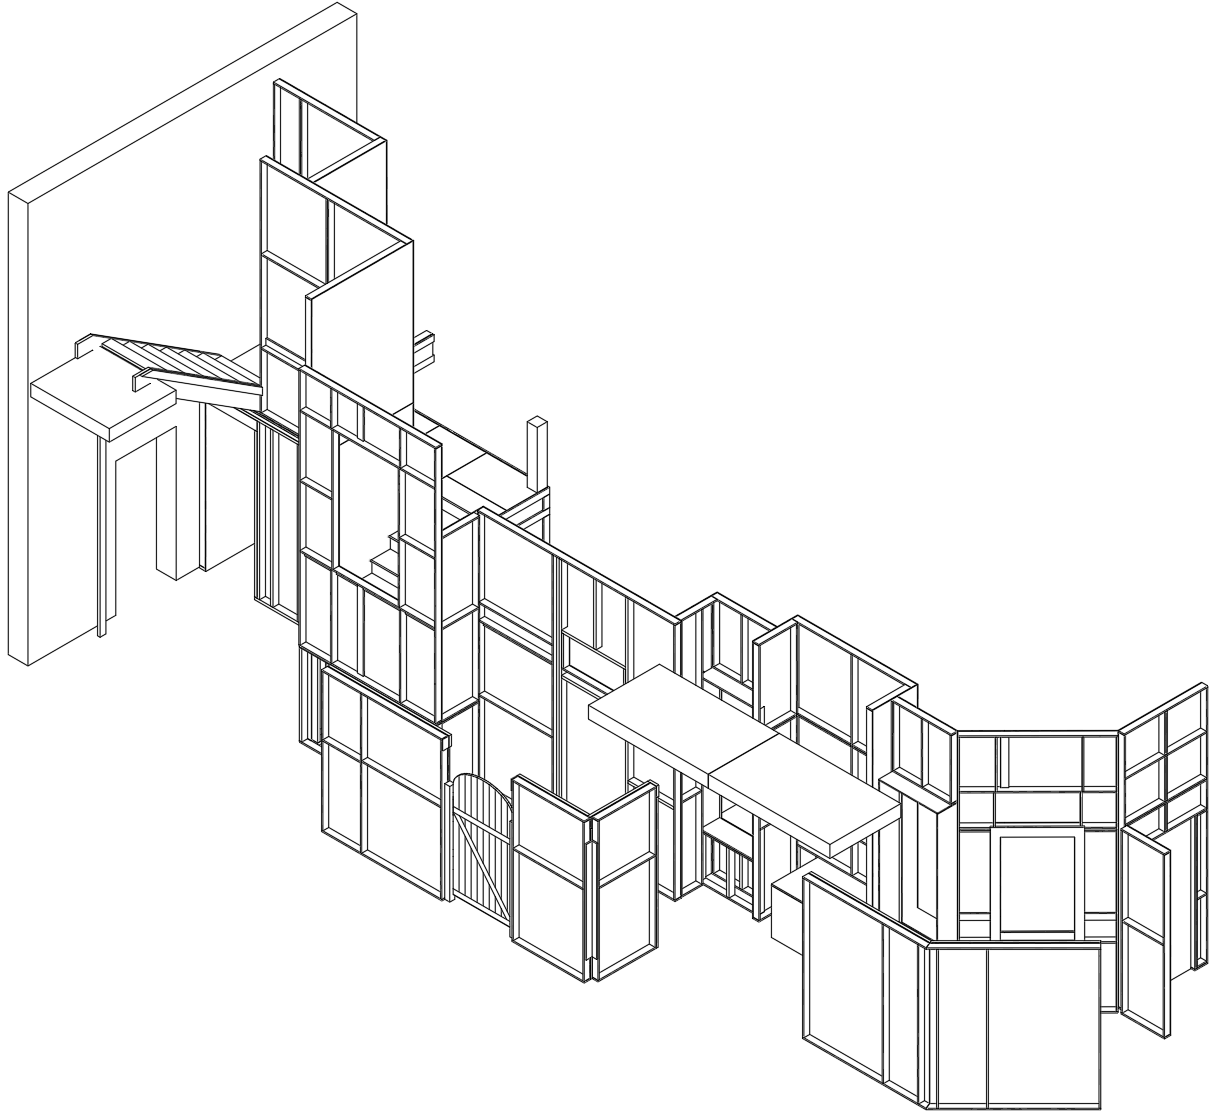
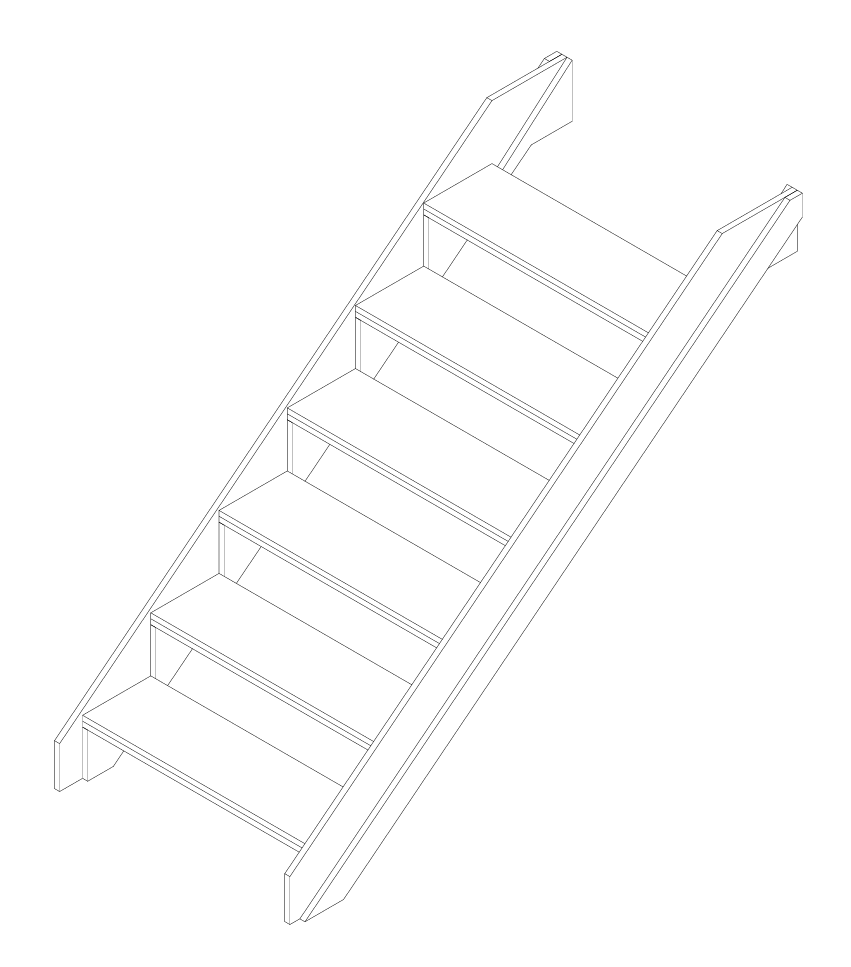
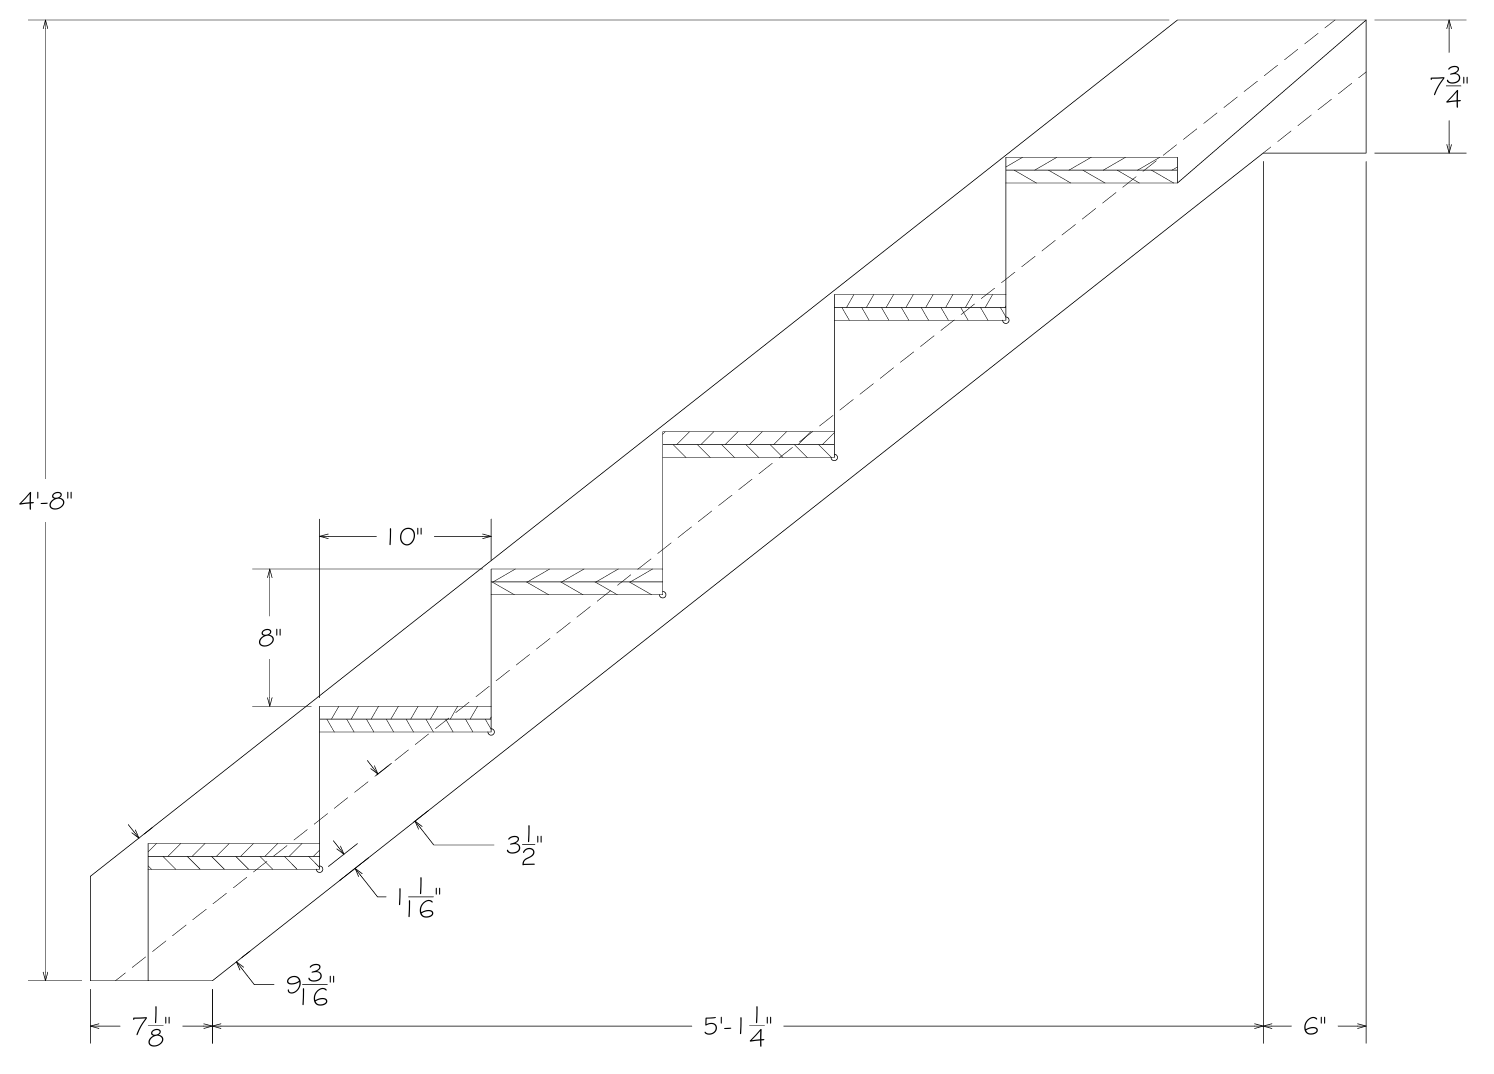
As part of the design an escape stair was needed for the second level. The escape stair needed to not block off a lower doorway being as it was the primary entrance/exit and it needed to be able to get actors off of the second level eight feet off of the deck. After a few attempts to reroute the staircase it was decided that the best solution was to use the existing gallery level door on stage left. This doorway was designed to be used when a custom set of gallery platforms and brackets was installed to wrap the extents of the stage, or used with custom platforming. The stock gallery platform sections are 7 inches thick and made from steel C-Channel and plate caps. They slot into a number of brackets that need to be installed and then everything bolted together. In order to save on time and money it was decided to use the stock corner piece of the gallery as the landing platform for the escape stairs. The above unit (center) is designed to overhang and rest on the steel landing platform and the bottom of the stringer is supported by the scenic unit. The stringer is constructed from three laminated pieces and structural screws. The treads were laminated and stapled. Blocking was used to attach and secure the staircase to both the landing platform and scenic unit.
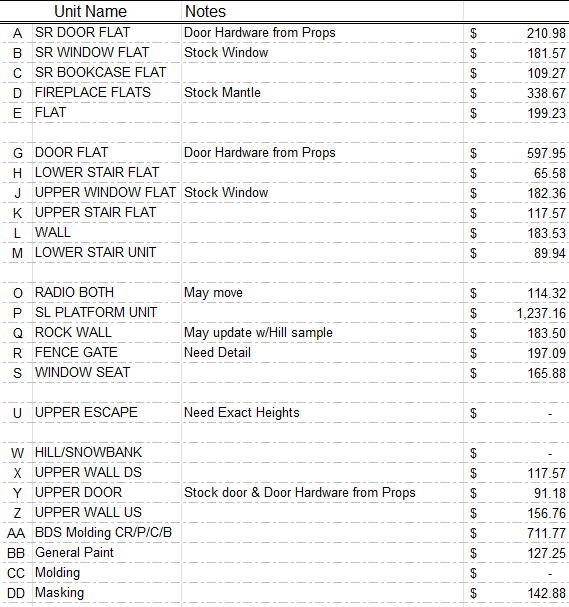
The scenic build cost $5,452.86. We were able to pull one door from stock and made the secret door (show above) but purchased two nice pre-hung doors due to available time and labor. We were able to get the extruded foam molding at an excellent discount, purchasing crown, picture, chair, and baseboard from a local salvage shop. The rest of the trim molding was pulled from stock and all of the paneling was 1x4. The railings, balustrade inserts, and transoms were also shop made from old stock MDF. This is the rough cost breakdown by category.
Plywood and Lauan - $1,580 (+stock)
1x4 - $1,575 (+stock)
2x4 - $319 (+stock)
Salvaged Extruded Foam Molding - $650
Polystyrene - $235 (+stock)
Doors - $445
Steel - $296 (+stock)
Parts for 4 Batten Splices - $142
Eye bolts - $21
Delivery - $150
Tales from the shop
As with all great stories, this story begins with relocating a CNC. After spending a few weeks getting acquainted to things and making some small changes scene shop it was time for the first big one. There was a CNC that the department owned that was housed on the other side of the building in the original scene shop and theatre dating back to the 1960s. This shop had limited access as it was in the trap room, with the orchestra pit elevator being the only means of moving material. In more recent history, this venue no longer belonged to the department, and it began to be used as a general classroom and event space further limiting access to the CNC. Not much point in having a CNC that isn’t able to be fully utilized…
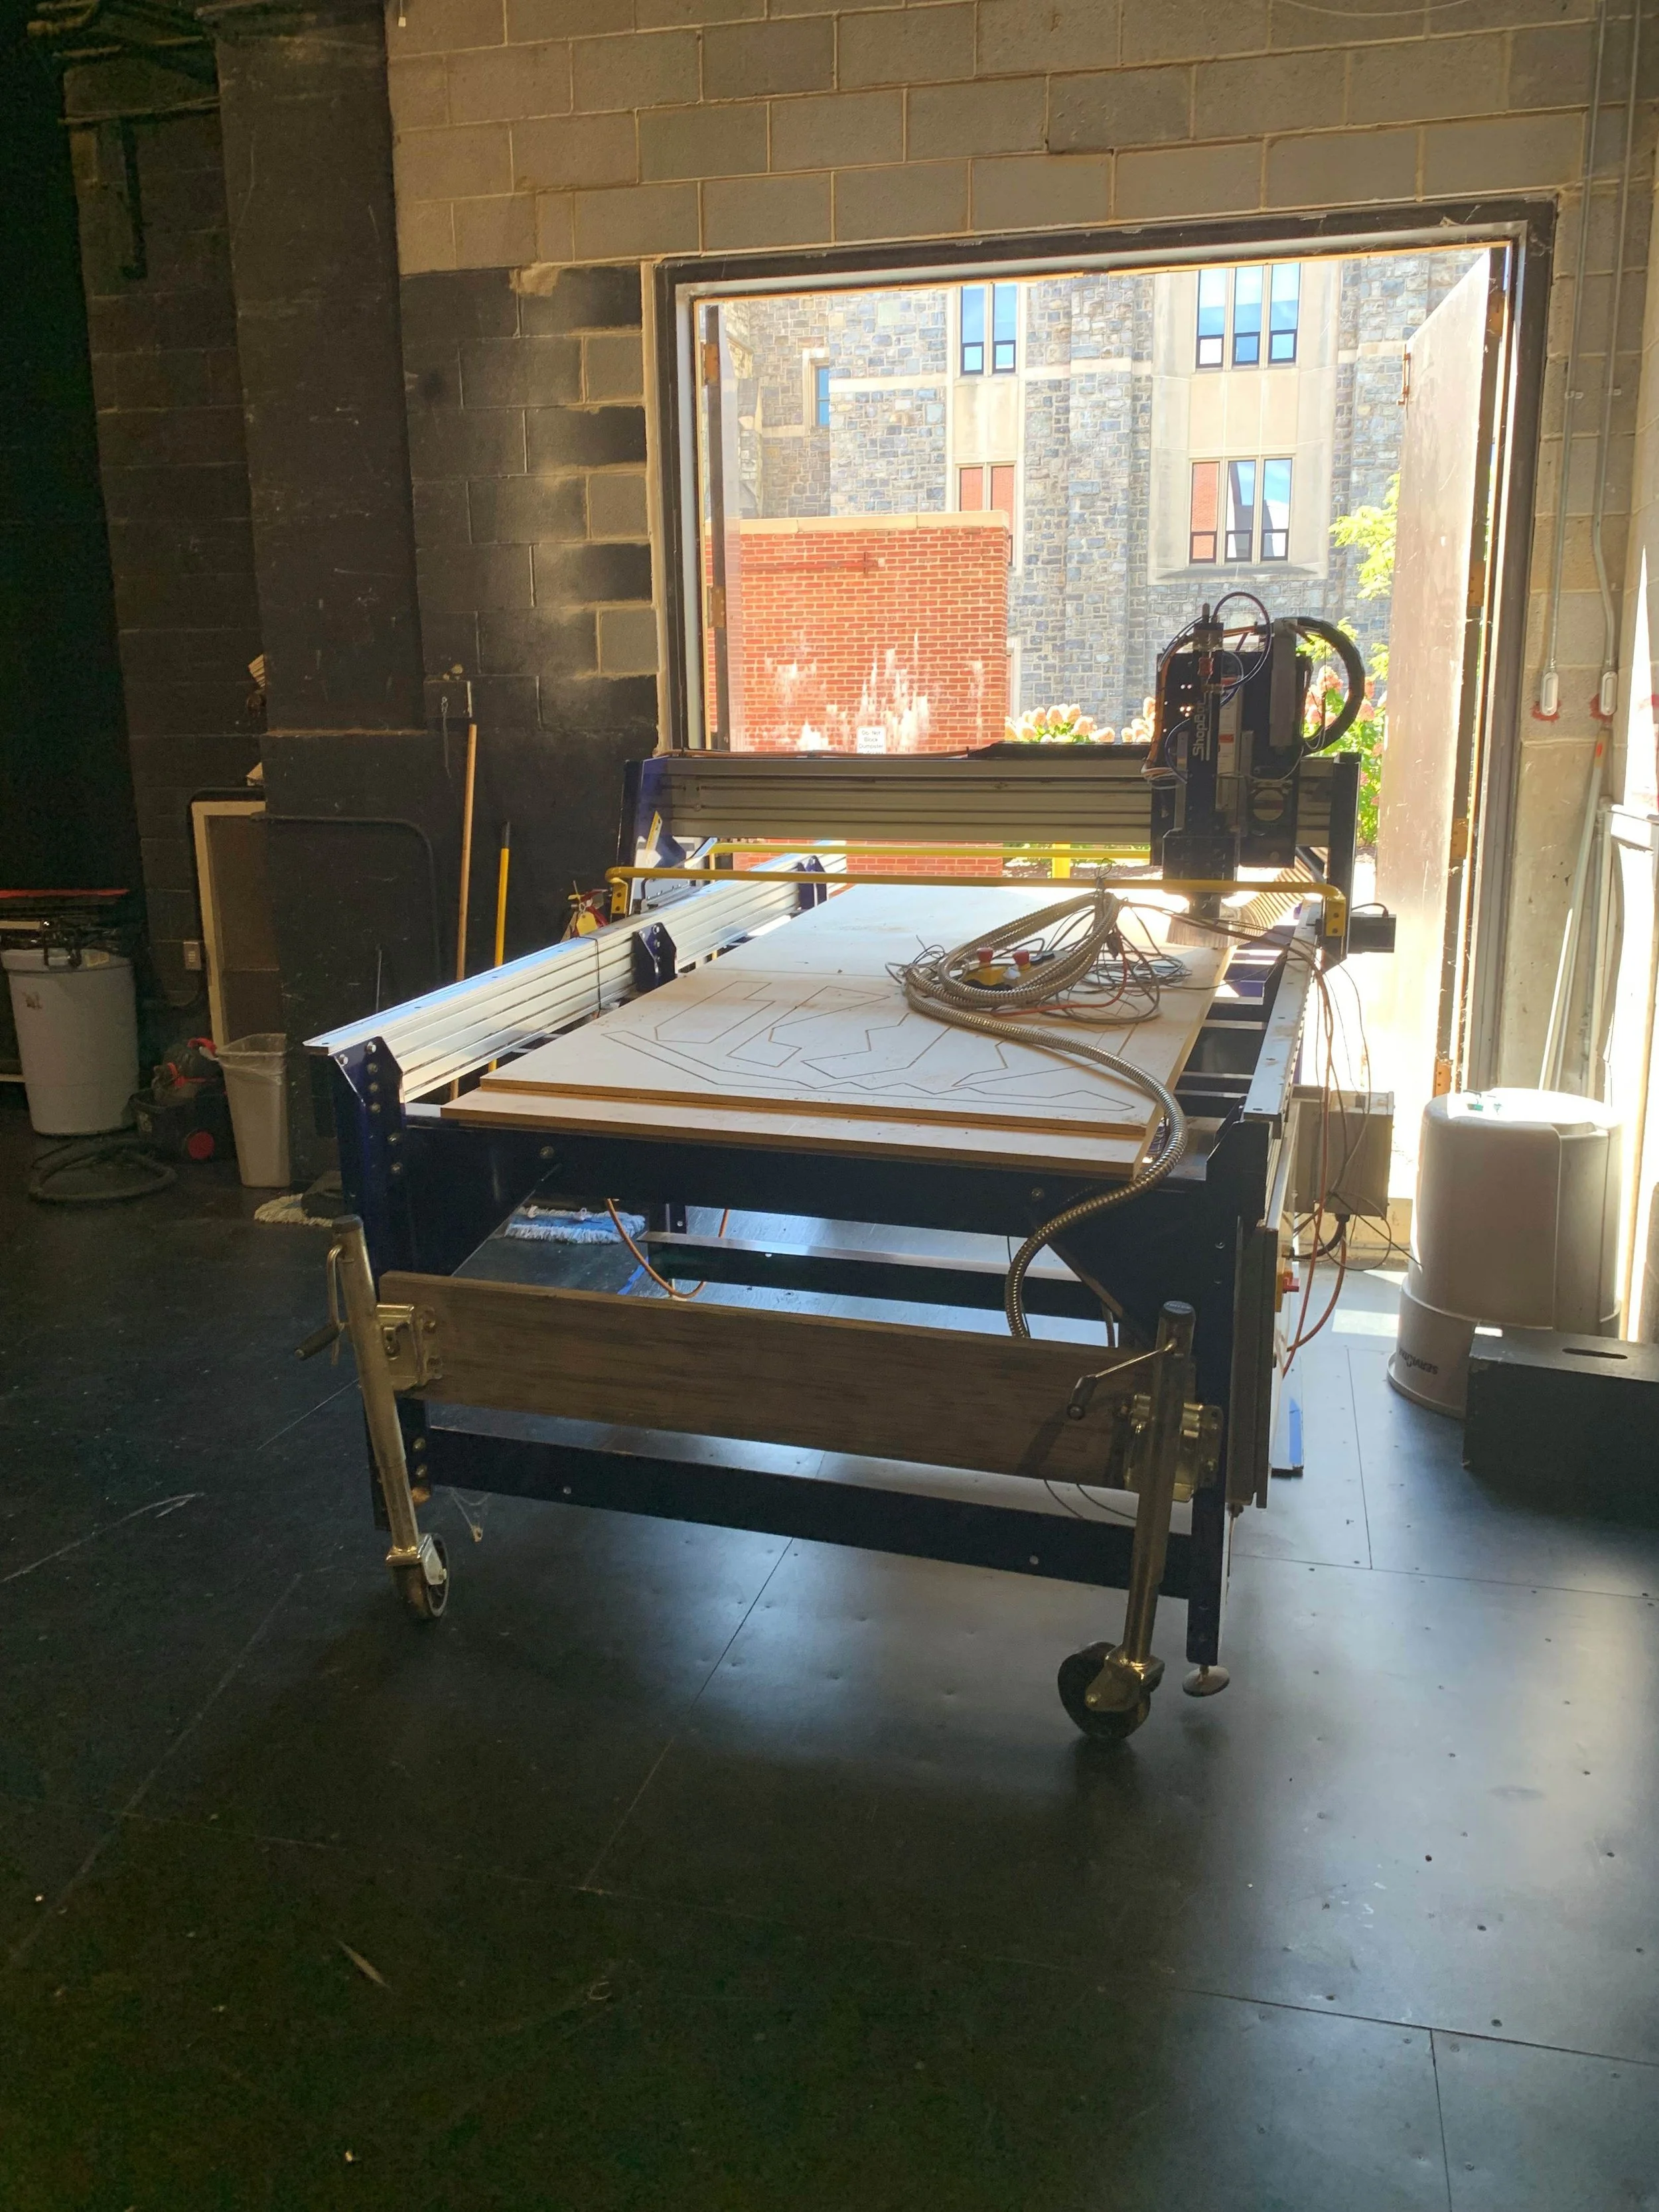
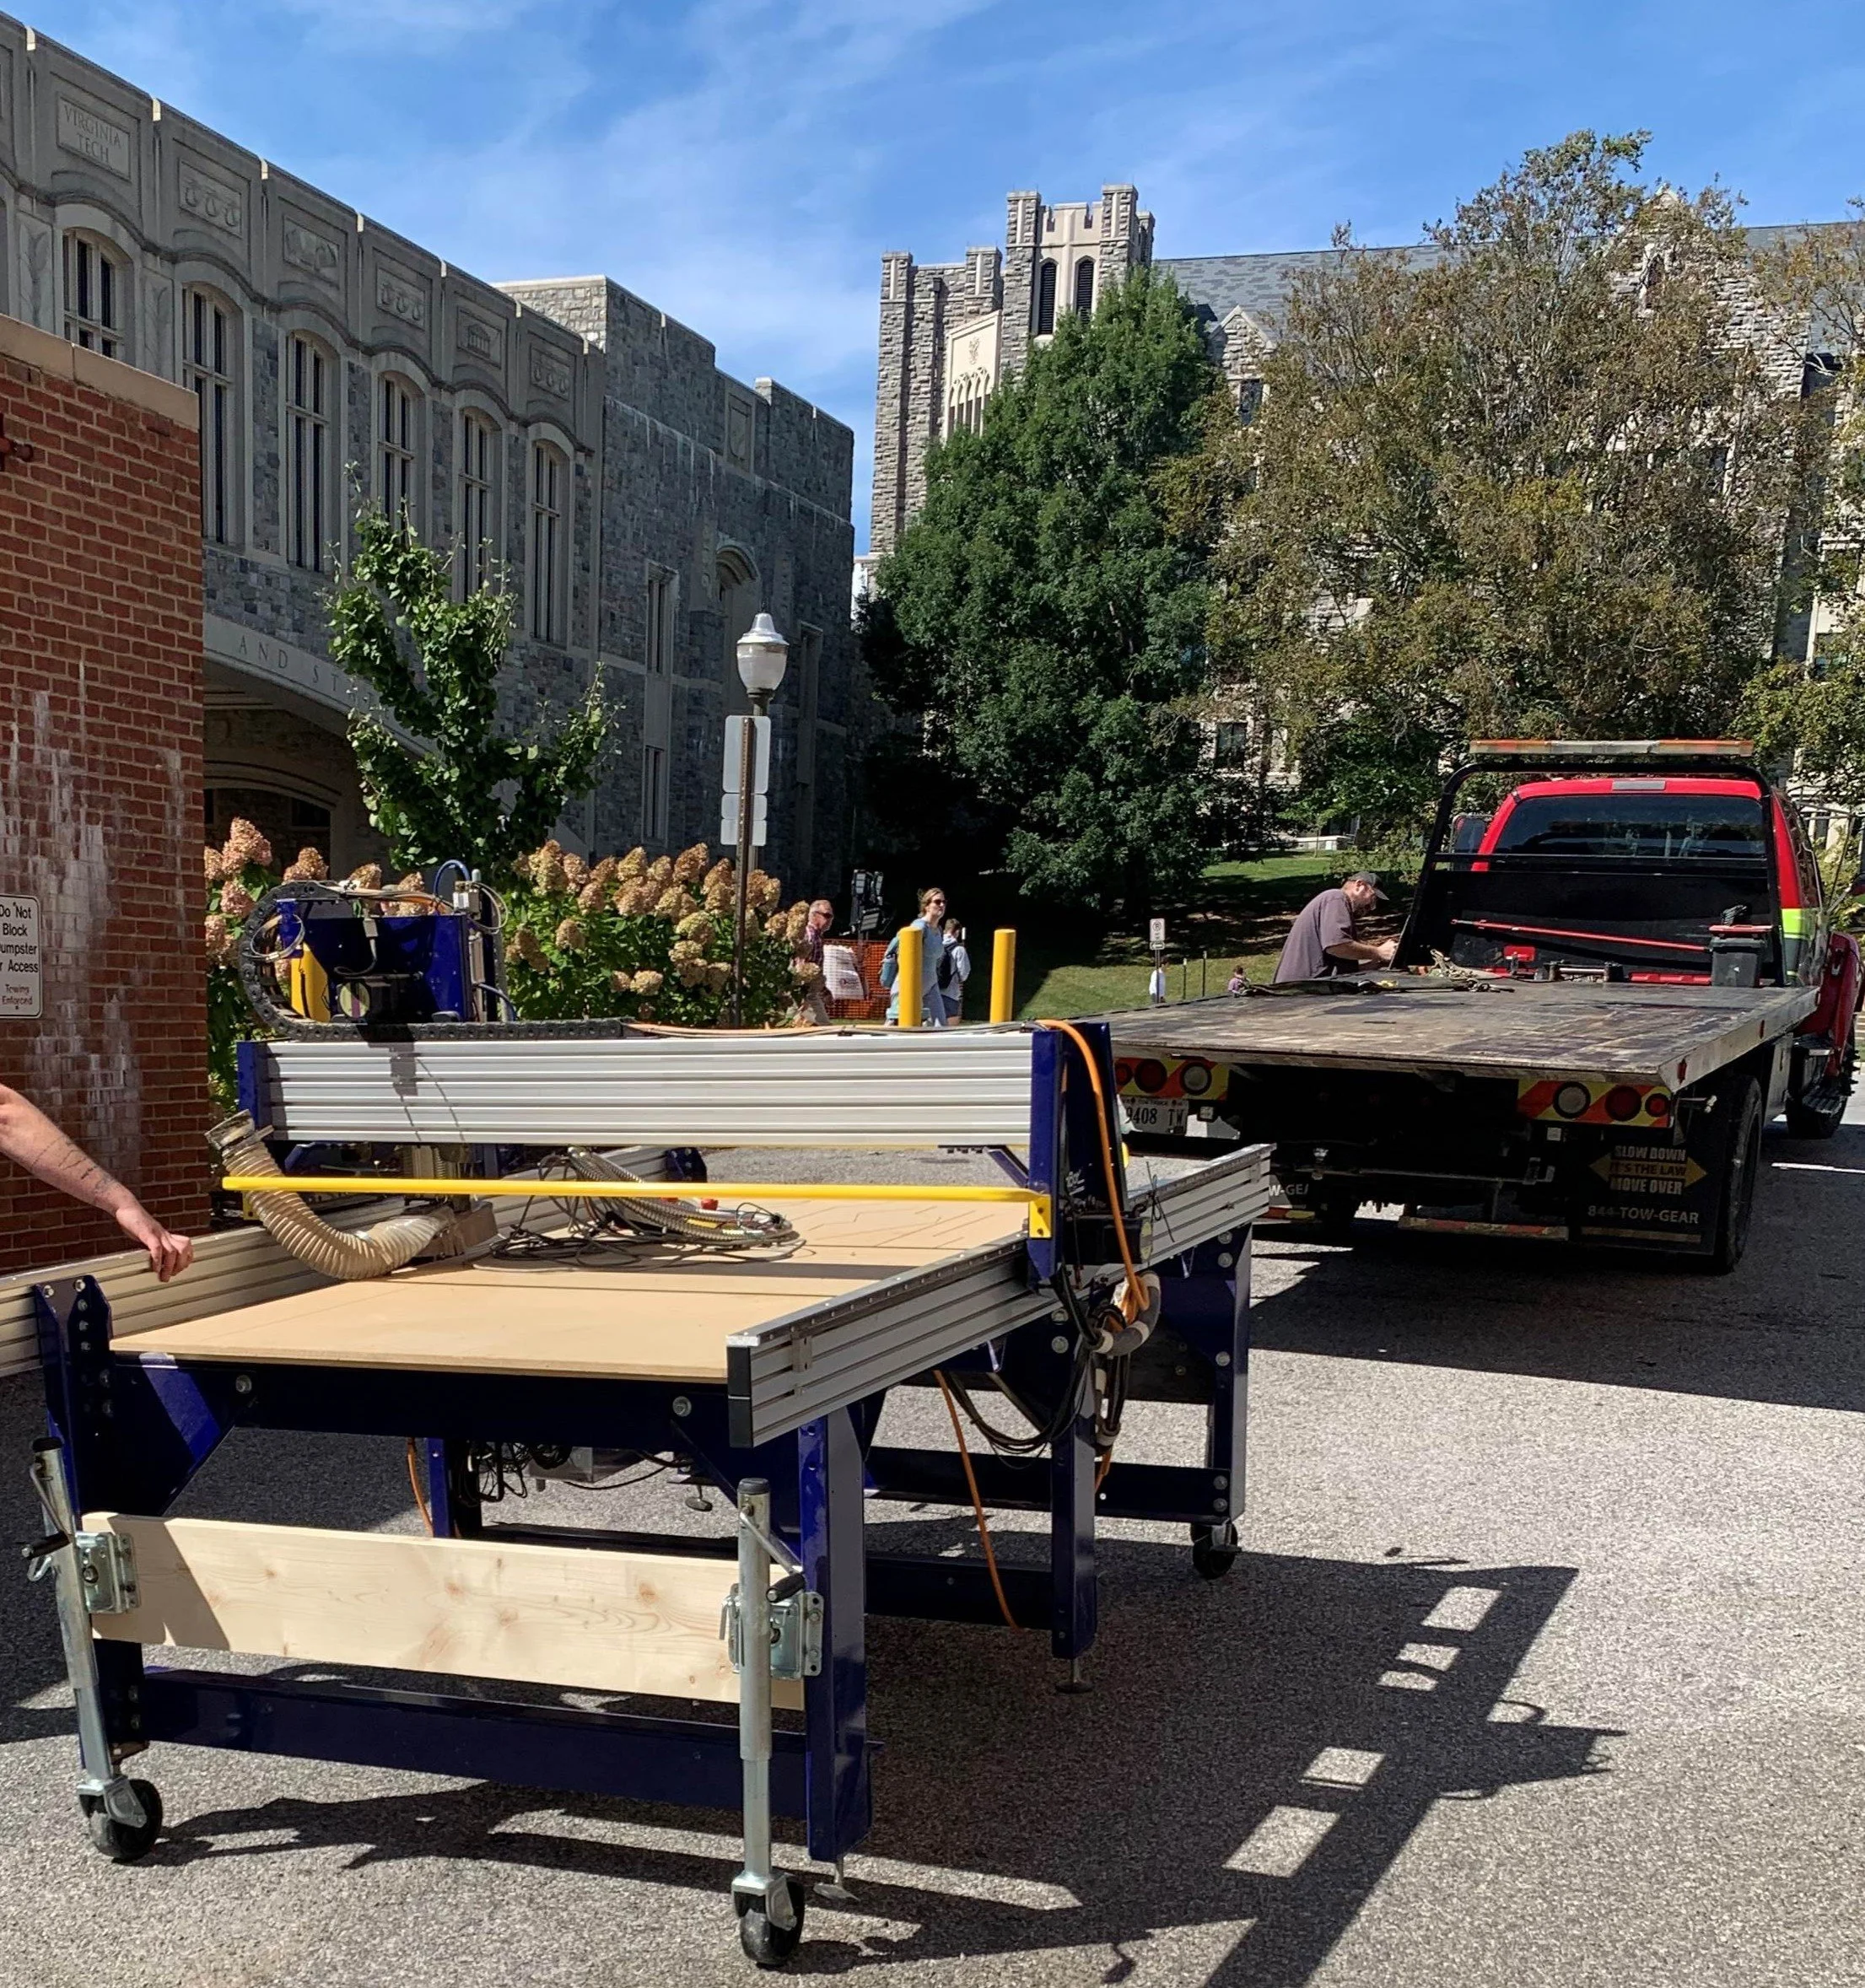
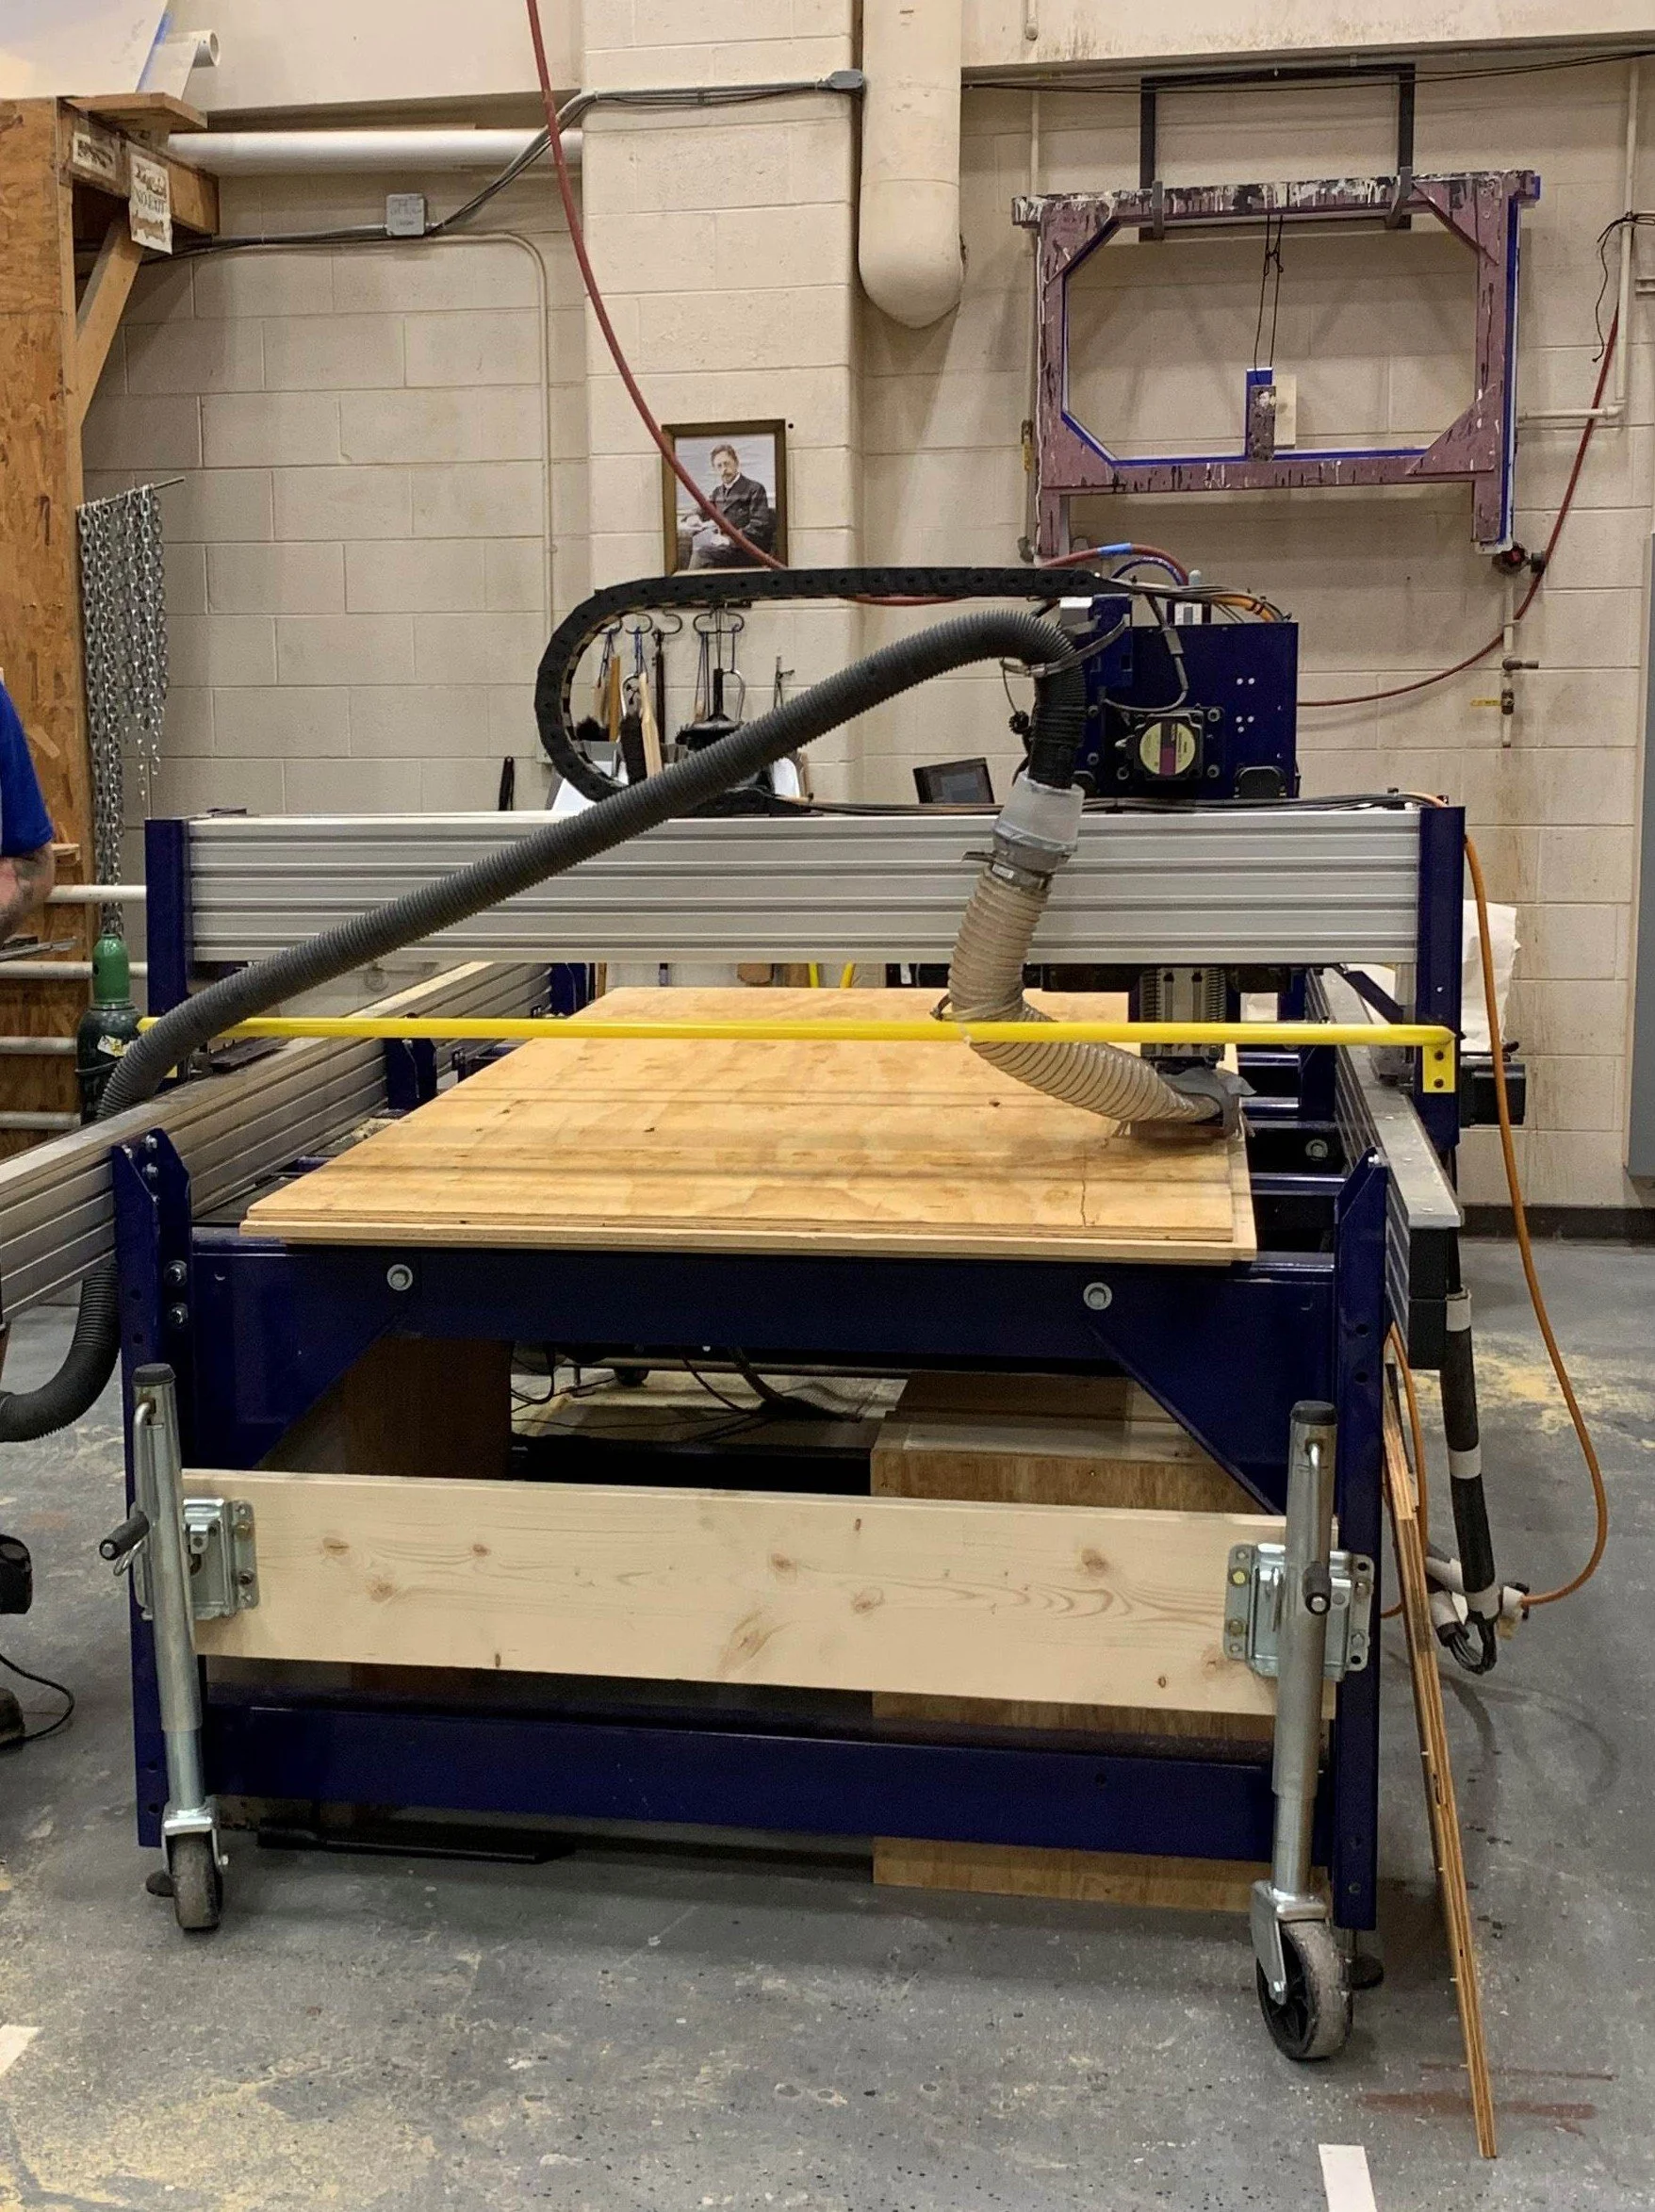
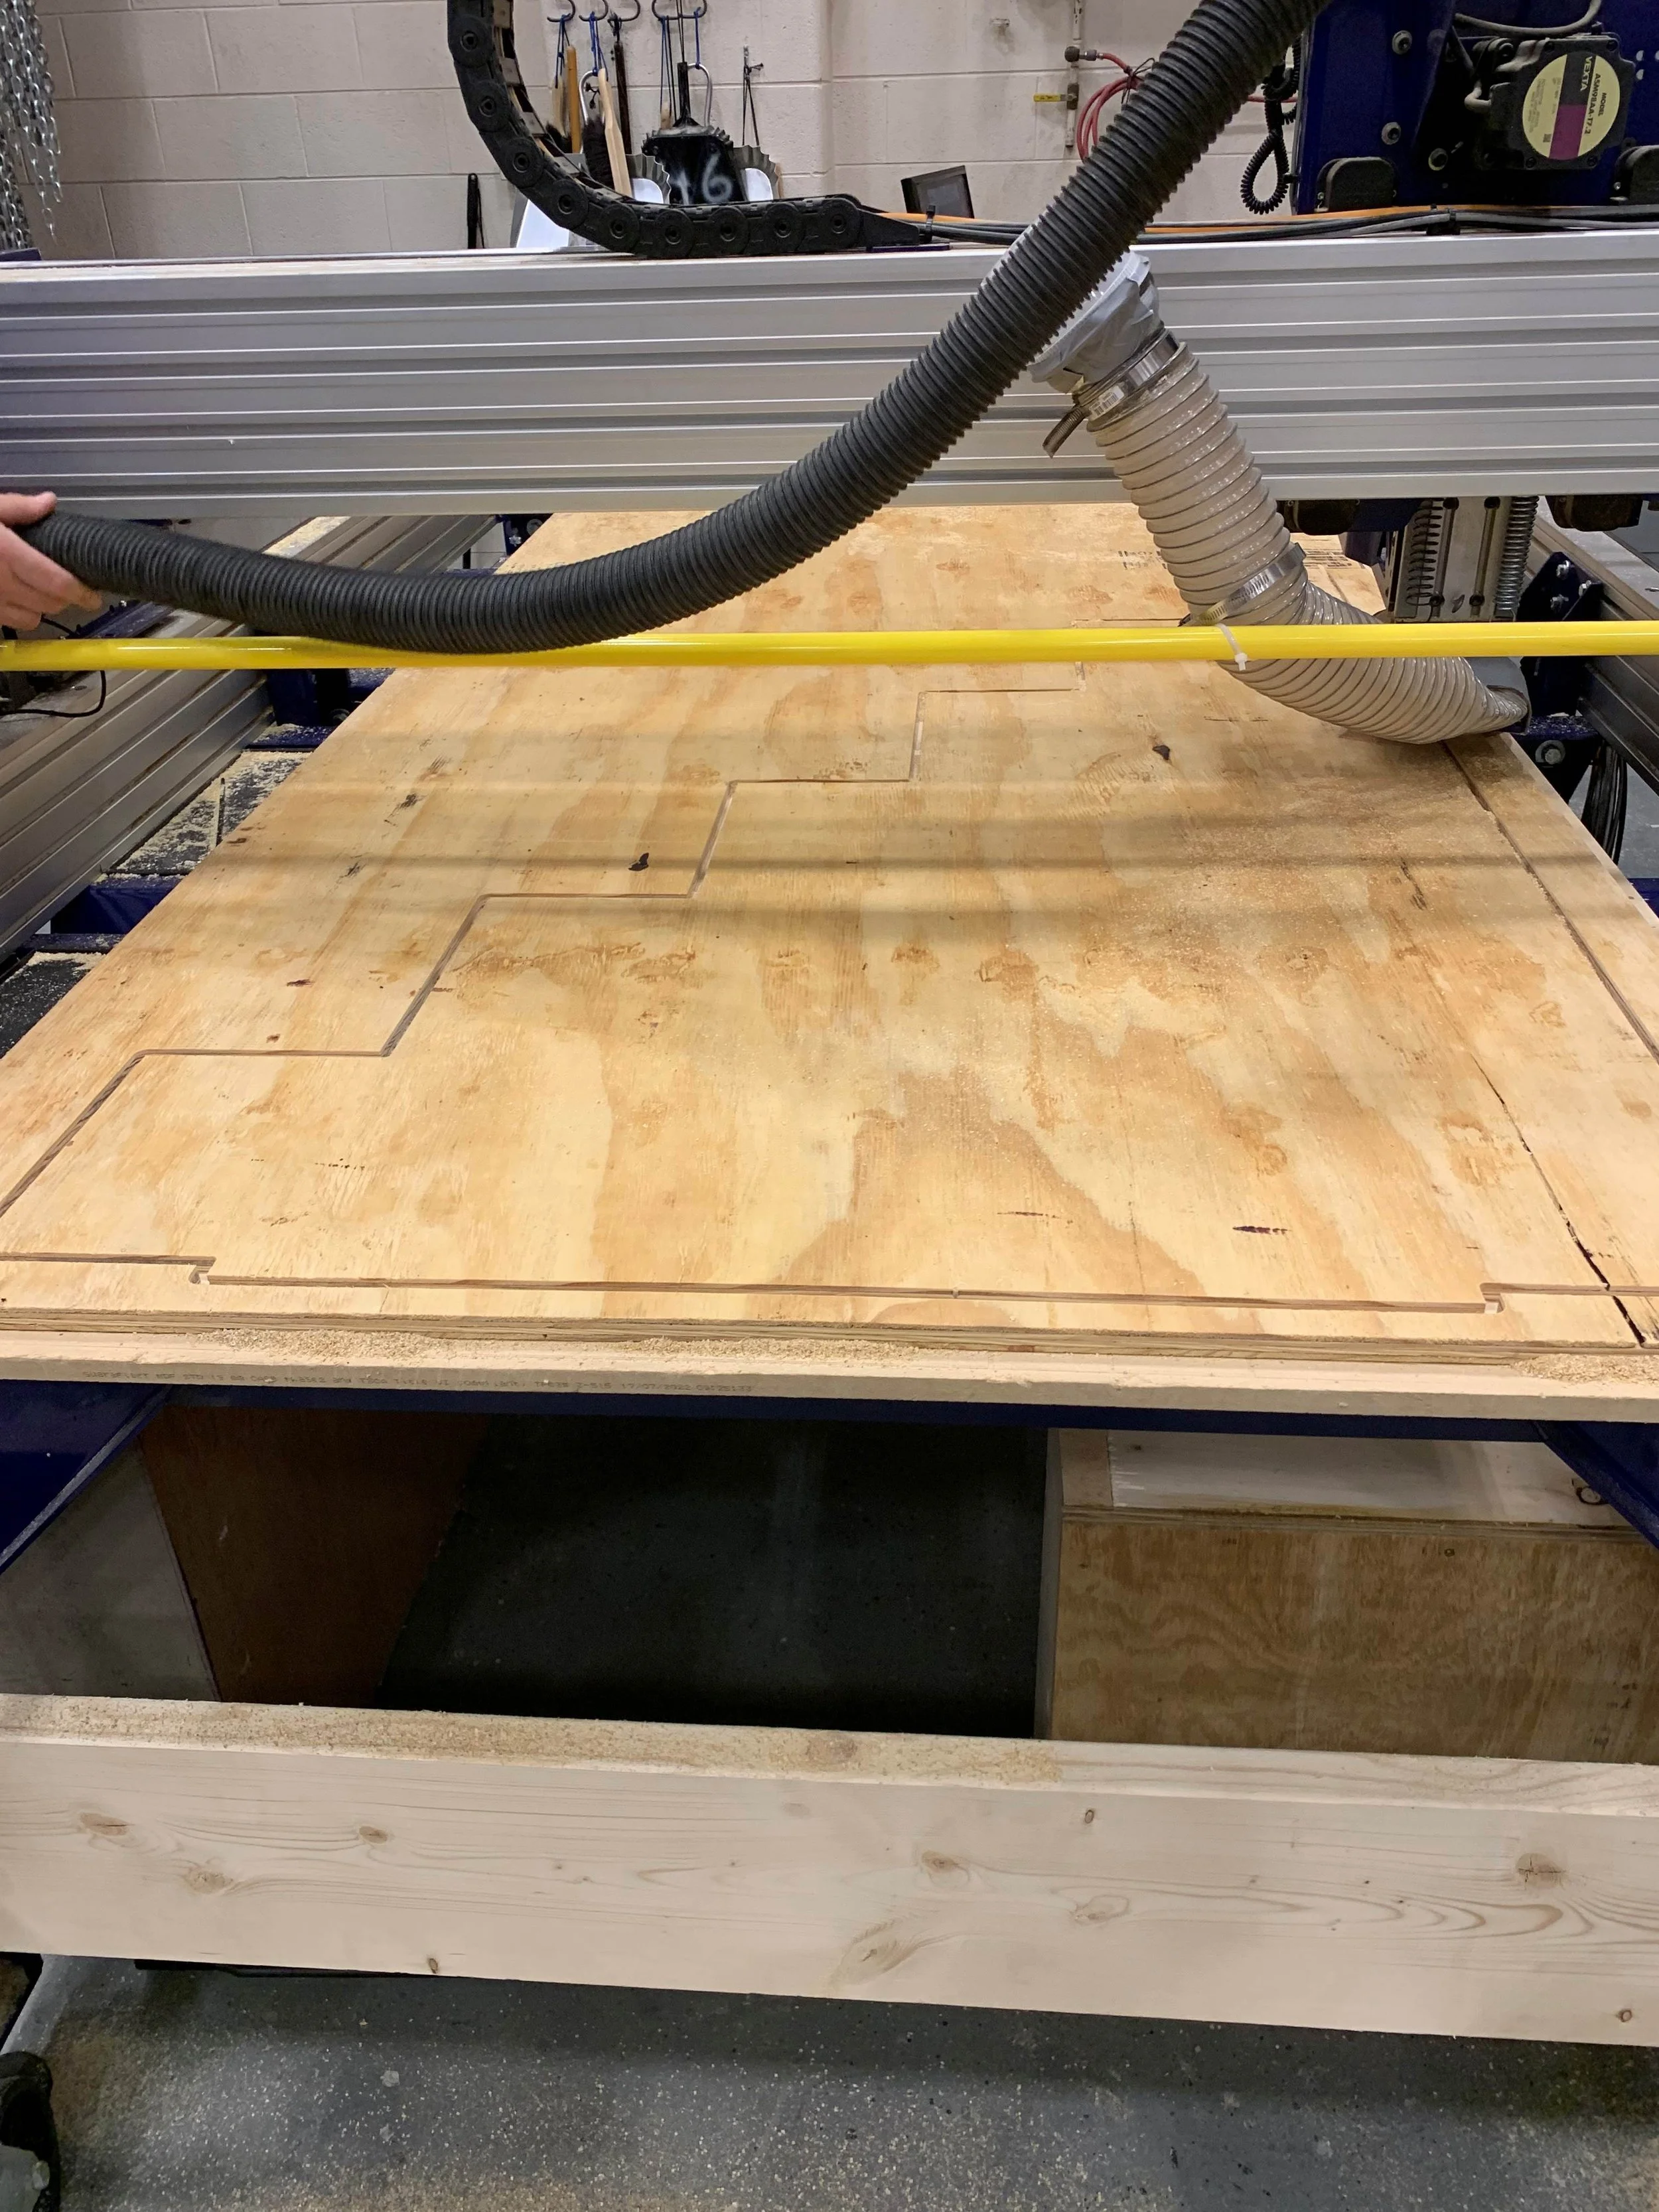
Using a machine on the other side of a building under a room actively being used and not being able to run the machine often or readily get materials to it really begins to grind on you. Or, it did me anyways. After some planning and rearranging with some assistance from AutoCAD, yes, the CNC fits. After confirming that let’s figure out how to move it. Well, there might have been more than one reason that no one had moved the CNC. As it so happens there was not a single interior pathway that was able to handle the length and width of the CNC. There was also no way to easily get it onto our loading dock to then get it into the scene shop from outside. And, there was not time to disassemble and reassemble it. After looking into a number of options and getting stopped by time or money, Patrick had a great idea, let’s get a tow truck to take it down the block for us. So we did. The truck was scheduled to meet us late morning which would give us time to get the bolt-on trailer jacks attached to the legs of the CNC and for us to get it to the loading dock of the original scene shop. Well, we made it but it was not fast. Once the CNC was in the loading dock it was much smoother, in no small part to having an two additional hands. Once it was on the truck and secured it was off the truck in the time it took to talk over to the current scene shop and open the door. After getting the CNC in place it was time to get it powered up; grab all the peripherals, accessories, and tooling; and see if it worked. It did. After some dialing in it worked well enough to start putting to use on productions. The Mousetrap was the first production to see its use. The CNC was used for the balustrade inserts, the transom windows, bookshelves, window bench, firebox insert and radiator cover.
Step 0 - Is there room in the shop?
Step 1 - How do we move it?
Step 2 - Onto the pit elevator and across the stage.
Step 3 - Up the ramp and into the loading dock.
Step 4 - Hire a tow truck.
Step 5 - Locate the machine.
Step 6 - Get it setup and tested.
Step 7 - Profit.